
Jordyn briefly mentioned our trip to Granny and Grumpa's in her weekly wrap-up, but since it was such an amazing experience we thought we'd do a whole post on it!

My mom first heard of Granny and Grumpa's through Funky Junk Interiors blog, and thought it might be fun to check out. We decided to have a girl's day to make up for me being away for Mother's Day, and man did we have fun!

The above photo is just ONE of many barns on the property, each one housing enormous collections of everything you could ever imagine. To say that it was a bit overwhelming would be an understatement!

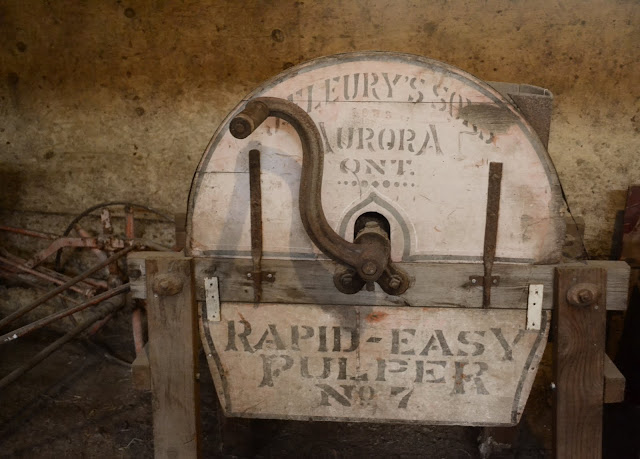
Every building held something new to discover....varying from vintage cars, old farm equipment, vintage clothing, rusty tools, and the list goes on and on!

They even had an entire room full of dolls. Let's just say that I didn't spend too long in there....a bit too creepy for me!


I think we all fell in love with this vintage cash register!

And I definitely spent a solid 5-10 minutes standing in front of their camera display, wishing that they were all for sale!


There didn't appear to by any rhyme or reason to the organization of the place (from what I could tell), and there were some bizarre combos of stuff! A prime example would be the random pirate statue next to an old John Deere tractor!


The barns further back were a bit of an adventure....not quite as bright or clean as the front buildings, and they featured quite an eclectic mixture of items!


Although I did find an entire shelf of old mixtures!


Jordyn and I also discovered an old arcade game!

And surprise surprise....I found a cat!

Overall, it was quite the experience! We were all astonished at the sheer amount of stuff these buildings held....and we didn't even get around to seeing all of them! It was such a fun day, and I'm so glad that my mom and sister love antiquing as much as I do!

We will definitely be visiting again soon! I hope you've enjoyed going on thismini EPIC tour with me!
ps: kelsey ♥

The above photo is just ONE of many barns on the property, each one housing enormous collections of everything you could ever imagine. To say that it was a bit overwhelming would be an understatement!

Every building held something new to discover....varying from vintage cars, old farm equipment, vintage clothing, rusty tools, and the list goes on and on!


They even had an entire room full of dolls. Let's just say that I didn't spend too long in there....a bit too creepy for me!


I think we all fell in love with this vintage cash register!

And I definitely spent a solid 5-10 minutes standing in front of their camera display, wishing that they were all for sale!

The stuff just went on and on and on....


There didn't appear to by any rhyme or reason to the organization of the place (from what I could tell), and there were some bizarre combos of stuff! A prime example would be the random pirate statue next to an old John Deere tractor!


The barns further back were a bit of an adventure....not quite as bright or clean as the front buildings, and they featured quite an eclectic mixture of items!


Although I did find an entire shelf of old mixtures!


Jordyn and I also discovered an old arcade game!

And surprise surprise....I found a cat!

Overall, it was quite the experience! We were all astonished at the sheer amount of stuff these buildings held....and we didn't even get around to seeing all of them! It was such a fun day, and I'm so glad that my mom and sister love antiquing as much as I do!

We will definitely be visiting again soon! I hope you've enjoyed going on this
ps: kelsey ♥


