tasty tuesday: chocolate covered cherry ice cream

0 comments

So at the beginning of this summer Kelsey and I started joking that it would be "the summer of ice cream".

Well folks, that is no longer a joke!  This is our third batch of ice cream, and every time we make it, we find inspiration for even more different types!  

The inspiration for this delectable treat came from a huge box of cherries one of our Dad's associates brought us.  I was so stoked, I absolutely love cherries.  However, I must admit that 8 bags of them seemed a bit daunting.  Then I remember that my favourite Blizzard from Dairy Queen used to be chocolate covered cherry - and the idea for this ice cream was formed.


Chocolate Covered Cherry Ice Cream

Ingredients:
4 eggs
2 cups sugar
3 1/2 cups milk (we used 2% you could use 1% or skim, but it won't be as creamy)
5 cups whipping cream
2 Tbsp vanilla
1/2 cup cooked cherry purée
1/2 tsp salt

Chocolate covered cherries
20 cherries
1 cup chocolate chips (melt for dipping)

*Ice and coarse salt - this will be needed for the ice cream maker


Directions:
Cherry Purée
1.  Take 4 cups of cherries (halved and pitted) and with 2 tablespoons of water cook them in a medium pot over medium heat.
2.  Cook until cherries really start to break down (I think I cooked it about 45 minutes, but if you watched it carefully, you could turn up the heat and cut down the time. You want a lot of the liquid to cook off). 
3.  Blend the cherries until completely smooth.
4.  Measure 1/2 cup out for the ice cream.
5.  Use the leftovers as topping for your ice cream! (I had maybe a 3rd of a cup left over).

Chocolate covered cherries - You can do this while the rest of your ice cream is churning.
1.  Cut about 20 cherries into quarters (though you may want to leave some whole for topping the ice cream!)
2.  Melt chocolate.
3.  Dip cherry quarters into chocolate, and place on parchment paper to harden. (I did this on a cookie sheet and then placed the whole thing into the fridge).

Ice Cream:
1.  Beat eggs in a large bowl.
2.  Gradually incorporate sugar.
3.  Add the rest of the ingredients (including cherry purée, but NOT ice or coarse salt) and mix well.
4.  Place mixture in the barrel of your ice cream maker, and follow manufacturer's instructions.  This will include layering ice and salt around the edges of the ice cream maker.  Ours called for about 2 inches of ice, and then 1/2 cup of salt, repeated until the ice reached the top of the maker.  Then we attached the motor, and let it run for about 45 mins.  We added more ice about half way through.  On our machine you know the ice cream is finished when the motor stops running.  Yours may be different!
5.  When the ice cream is finished, spread a layer into your container, and then place some of the chocolate covered cherries on top.  Add another layer.  Do this as many times as you would like.  We found that a lot of them would sink, so we put lots on the top layer.  
6.  Serve with whole cherries, whole chocolate covered cherries, chocolate drizzle, and cherry purée.


This was so much fun to make, and just as much fun to eat!  We ate it in celebration of the birthday of a close friend of mine.  It was so gorgeous, and a pleasure to share with people.


"Without ice cream, there would be darkness and chaos." 
True fact.

Let us know if you have any yummy flavours you think we should experiment with!
We are thinking of tasty things we can find on our farm/garden - blueberries, blackberries, mint, and lavender!  All sorts of wonderful flavours just begging to be used!

p.s.   jordyn (and kelsey)

weekly wrap-up : auntie time

0 comments
I am so blessed to have married into an incredibly loving, fun, crazy, and big family!! Caleb and I went on a week-long trip to Manitoba for a wonderful family get-together, and the result was this: a lot of crazy awesome times with all seven of our ridiculously adorable nieces and nephews. Hence, all these adorable photos of cute, dirty kiddos that we love very dearly (and already miss dearly!). 

But seriously, I have the cutest nieces and nephews. I'm a very blessed auntie :)
These kids are the best and we had an absolute blast!
And just to prove that I have the best husband ever.... while on a walk, he picked me a little bouquet of wildflowers! So sweet and thoughtful :) He knows me so well. All of these little beauties are now pressed between my Bible to remind me of how blessed I am to be living life with this wonderful man.

p.s.   clara

outfit post : perfect summer days

0 comments
I am in love with this outfit. I found my chambray top and dress for a steal of a deal at Bluenotes while at the mall and I am sooo in love with these two $10 pieces! Yes, that's right. $10, people. I was ecstatic!!!! And now, these are some of my summer staples. 

This top literally goes with everything. Maxi skirts, dresses, paired with jean bottoms, white shorts, buttoned up.... it's just that good. And this dress I'm sporting? It's comfortable, has a floral print, sweet little pearl buttons, and the cutest collar! Basically, it's my dream summer dress. I adore it!!
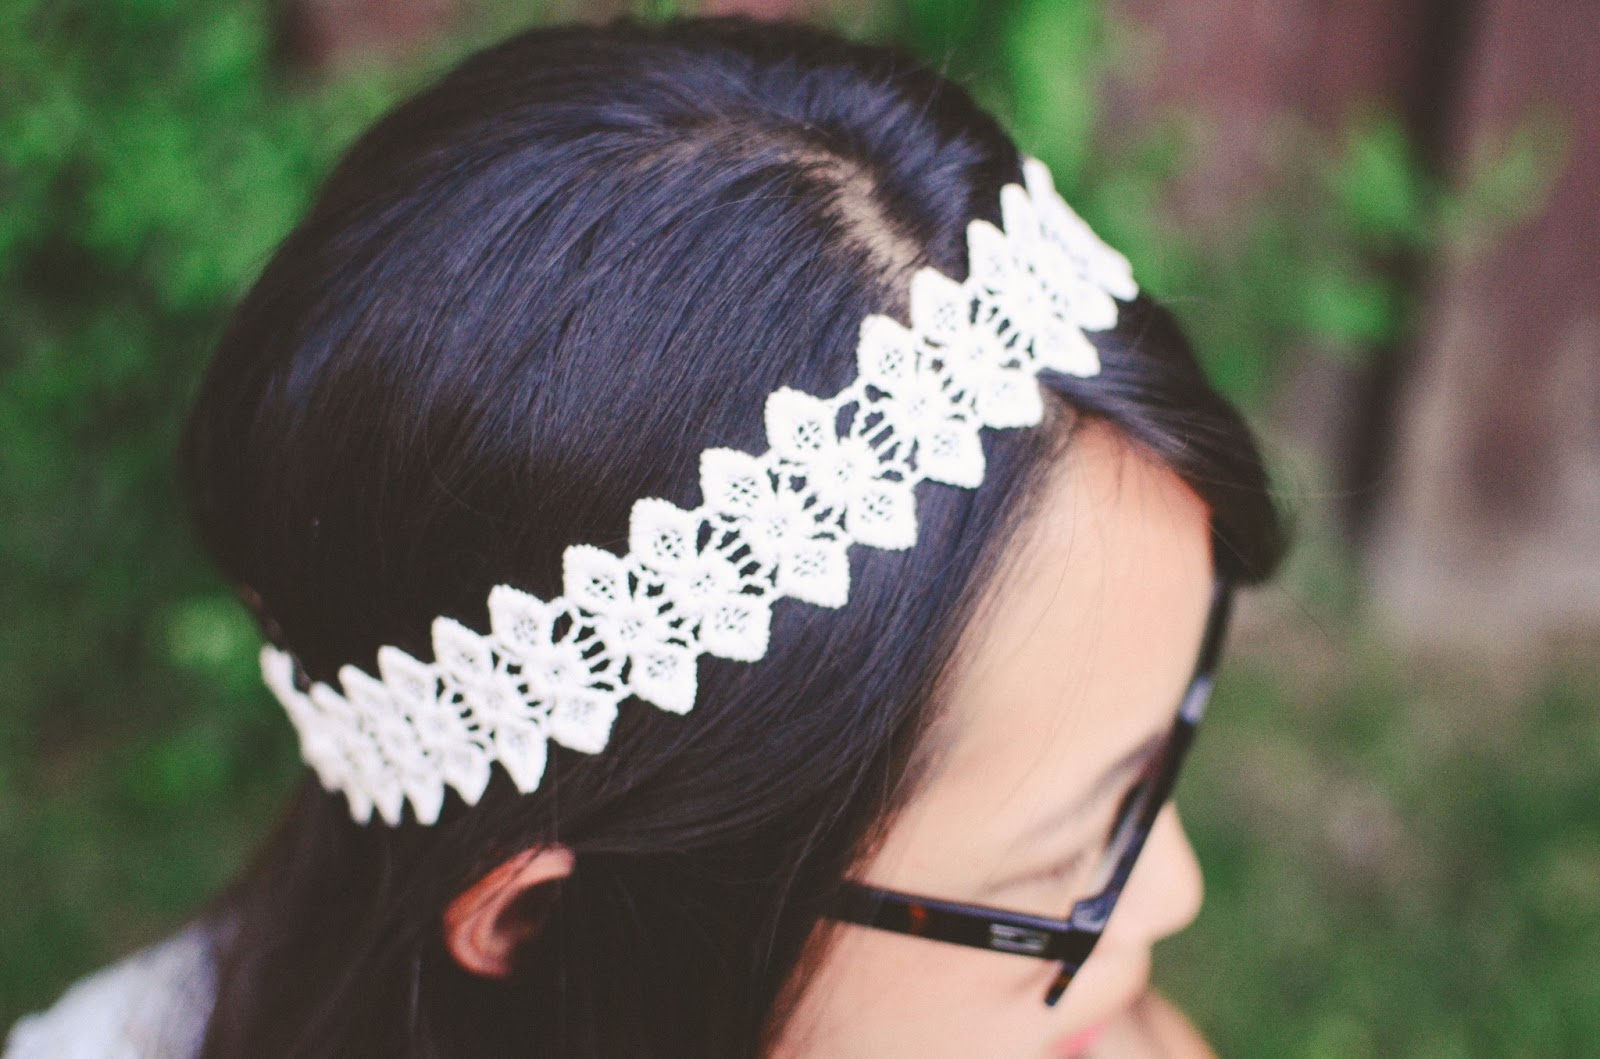
lace headband : p.s. heart diy    /    chambray top : bluenotes   /   dress : bluenotes

Happy summer days, dear friends!

p.s.   clara

diy : simple, no-sew lace headband

0 comments
I love lace. This may be highly apparent to you, since us ladies at p.s.heart have a rather overwhelmingly large number of posts that include lace...and really, we're totally guilty of a slightly out-of-control lace obsession and we'll be the first to admit it! So there, I admit that I am a little obsessed with lace, but without this obsession, this adorable DIY wouldn't be coming your way. So really, you're welcome. Now enjoy this ridiculously simple and awesome DIY.
Supplies Needed:  lace (of course!), a couple hair elastics, and a glue gun. 
Instructions. 
1. Measure out your lace by wrapping it around your head. (I used enough lace that it would just barely touch when I wrapped it around my head!)
2. Fold your lace over your elastics and glue gun it so that your lace is firmly folded over onto itself. Repeat this for both sides of your piece of lace. 
3. Let your glue dry, make sure your lace isn't going to just rip right off, and then voila! 

You're done. 

Yep. It's really that simple.
Again, you're welcome.
Enjoy this lovely summery accessory! 

p.s.   clara

tasty tuesday: the very best peanut butter granola bars

0 comments

As a kid I loved granola bars, really what kid doesn't?  Sometimes my mom would even buy us the granola bars that had peanut butter or caramel on them, wrapped up in chocolatey goodness!  Those days were the best!  

We also had the crunchy peanut butter kind, not quite as fun as the glorified chocolate bar type, but still pretty good.

These granola bars are a homemade take on the crunchy peanut butter granola bars, and I kid you not, I would choose these over ANY chocolate covered bar in a heart beat.  They are that good.


I have messed around with granola bars before, but I have never had any turn out as perfect as these did.  The very first time I made them, I couldn't believe how crunchy they were!  Previously, they always turned out a bit chewy, not quite the crispy consistency I was looking for!  

Peanut Butter Granola Bars
recipe: adapted from Half Baked Harvest (Tieghan) 

Ingredients:

2 1/2 cups rolled oats 
1 1/2 cup rice crispies cereal
1/4 cup chopped peanuts
1/2 teaspoon salt
1/2 teaspoon baking soda
1/3 cup honey
1/2 cup peanut butter (I like to use natural)
3 tablespoons coconut oil
1 teaspoon vanilla extract

Drizzle
2 tablespoons peanut butter (here I use Kraft)
1 teaspoon coconut oil
1 teaspoon honey

Directions:

1) Preheat your oven to 350.  Line a 9x13 pan with parchment, this makes it so easy to pick up out of the pan to cut! and no granola bars sticking to the pan!
2) Mix together all of the dry ingredients, oats, rice crispies, chopped peanuts, salt and baking soda in a large bowl.
3) Mix together all of the wet ingredients, honey, peanut butter, coconut oil and vanilla, in a one cup glass measuring cup (or glass/microwave safe bowl).  Melt these ingredients together (about 30 seconds in the microwave).
4) Pour the wet ingredients into the dry, and stir thoroughly.
5) Transfer granola mixture into the parchment lined pan.
6) Press down very firmly, using a fork, or the greased bottom of a measuring cup.
7) Bake for 20-25 minutes (depending on how crunchy you would like them to be!)
8) Let them cool in the pan for a bit, then lift the parchment right out onto a cutting board, and cut them in granola bar shapes. (or whatever shapes you would like them to be in!)


I can't get over how much I dig these bars!  I love to pack them in my lunch, (they provide a much needed burst of energy while working on the farm) they make the perfect coffee break snack, and I may have even been known to munch on them for breakfast!

There are so many possibilities with these granola bars, and I have already modified the recipe to make yummy s'mores bars! 


Also anybody who loves food blogs should check out Half Baked Harvest.  Even if you aren't really into baking, her photos alone are to die for.  This girl has some serious talent!  I want to try everything she makes, it all sounds so delicious, and usually looks even better.

p.s.   jordyn


weekly wrap-up: beachy days

0 comments

Now, berry farmers aren't able to leave their farm too often in the middle of Summer, but last weekend we were able to get away for a bit to celebrate our parents' anniversay!  We drove out to White Rock for supper, and had such a fun evening soaking up the sun, walking along the beach, and finishing the night off with ice cream!


How adorable is this sign?  Are there any Doctor Who fans out there? Hehe.


I hope you all had a lovely week, and are making the most of Summer!

p.s.   kelsey