Click image for full-size scan
Build your own gag with Osamu Tezuka!
Posted by Admin at 9:33 AM 1 comments
Build your own gag with Osamu Tezuka! I don't even WANT to know the translation...this page makes my head spin in wonderful ways :)
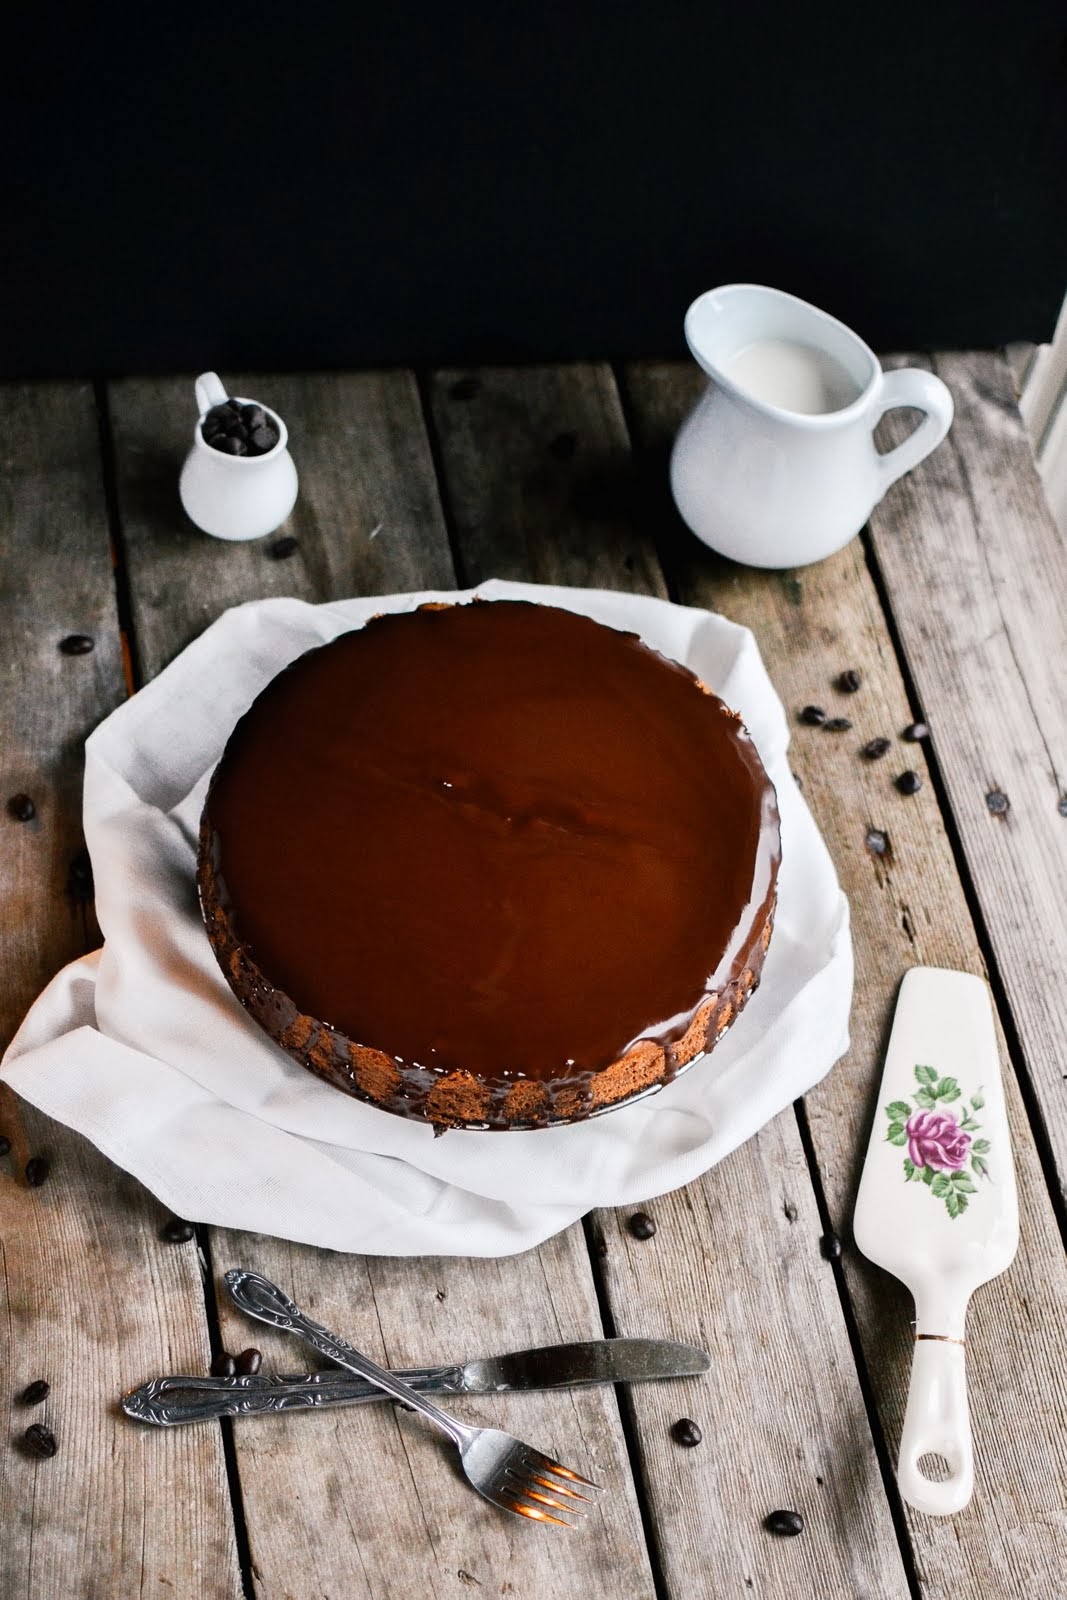
mocha cheesecake
Posted by Admin at 5:00 AM 0 commentsI could have titled this post: "the only cheesecake I ever make", because that is the truth.
I've tried several other recipes for cheesecakes, but this one is my all-time favorite. Since cheesecake is a relatively expensive dessert that I tend to only make once in a while (for special occasions!), I really don't like experimenting too much. I just love this recipe too much!

Also, for those of you who aren't really coffee fans...fear not! I'm totally not a coffee drinker (at all), and I can't get enough of this cake. If you're still not sure, you can always leave out the instant coffee for an excellent chocolate cheesecake!


Also, for those of you who aren't really coffee fans...fear not! I'm totally not a coffee drinker (at all), and I can't get enough of this cake. If you're still not sure, you can always leave out the instant coffee for an excellent chocolate cheesecake!
Mocha Cheesecake
from: Jean Pare - Company's Coming: Chocolate Everything
Ingredients:
1/3 cup margarine, melted
1 1/3 cups graham cracker crumbs
1/3 cup sugar
3 tbsp cocoa powder
3 oz semisweet chocolate chips
3 packages cream cheese (8 ounces each), softened to room temperature
1/2 cup sugar
1/2 cup brown sugar
2 tbsp flour
2 tsp vanilla
3 large eggs, at room temperature
1/4 cup milk
1 tbsp instant coffee granules
*whipped cream for topping (optional)
Directions:
Crust:
1) In a small bowl, stir together margarine, crumbs, sugar and cocoa.
2) Press into an ungreased 9-inch springform pan; set aside.
Cake:
1) Melt chocolate using a double boiler (or in the microwave if you're very careful not to burn it!). Set aside and let cool to room temperature once melted.
2) Beat cream cheese, both sugars, flour and vanilla in a medium bowl. Add in melted chocolate and beat until well mixed.
3) Add eggs, one at a time, until just mixed.
4) Stir together milk and instant coffee until granules are completely dissolved. Add to the batter, mixing until just combined.
5) Pour over crust.
6) Bake at 300 degrees for about 1 1/2 hours until the center is almost set.
7) When you've removed the cake from the oven, run a knife around the edges to help the cake settle without cracking.
8) Chill for 8 hours or overnight.
Optional:
Chocolate Magic Shell Sauce:
Melt together 1/2 cup of chocolate (doesn't matter what kind!), and add 1 tbsp of coconut oil. Stir together.
Pour over chilled cheesecake like you would a ganache, and the chocolate will form a shell!
*Our cheesecake was a teensy bit warm when we poured our magic shell over top, so that's why it looks a bit glossy still. But if you've chilled your cake properly, or if you pop it back in the fridge once you've poured the chocolate over, then it will form a shell of chocolate that is so pretty!


This cake is long gone, but editing these photos were seriously making me drool.
#foodphotographerproblems
p.s. ♥ kelsey
outfit post: pink and red
Posted by Admin at 6:00 AM 0 commentsAs you might have guessed from the title of this post...I decided to do a Valentine's Day inspired outfit. Cheesy? Yes. Do I care? Nope.
The thing is...no matter what you think about Valentine's Day, it always results in sales on chocolates. And that counts for a huge win in my book.
Anyway, I chose to go with maroon tights, a pink lace shift dress, and a navy blazer to help give the outfit some structure. I love a good shift dress, but sometimes your shape can get a bit lost in it. Since it's also Winter here....that's another good reason to add layers!
blazer: gap // shift dress: plenty // tights: h&m // shoes: charlotte russe


Also, I've fallen in love with Revlon's Black Cherry lipstick. It's a lovely dark, vampy red that I think is perfect for Winter!
p.s. ♥ kelsey
a mountain retreat.
Posted by Admin at 1:36 PM 0 commentsSo, you may have been wondering whether or not I've fallen off the face of the planet, since I haven't posted anything since Little Red, which was a month ago... but let me explain! I'm still alive and well and I haven't completely abandoned this blog, I promise. Caleb and I have been insanely busy and between my full-time job at Hope Mission (a non-profit organization in Edmonton that serves inner-city people), my photography business, as well as buying a new home, I have just had a ton on my plate. I'm so grateful to Kelsey for all of her hard work in keeping this blog alive, seriously, this blog would be nothing without her! And yes... I did say it.
Caleb and I are officially first-time home owners!!
No photos yet, but keep your eyes peeled in the next couple of months for the big reveal! For now though, I'll leave you with a peek into our gloriously relaxing and beautiful weekend getaway to the mountains. This was our Christmas present to each other and I think we'll be making this a yearly tradition :) So here it is, the perfect, Canadian winter retreat.
p.s. ♥ clara
outfit post: my winter uniform
Posted by Admin at 5:45 PM 0 comments
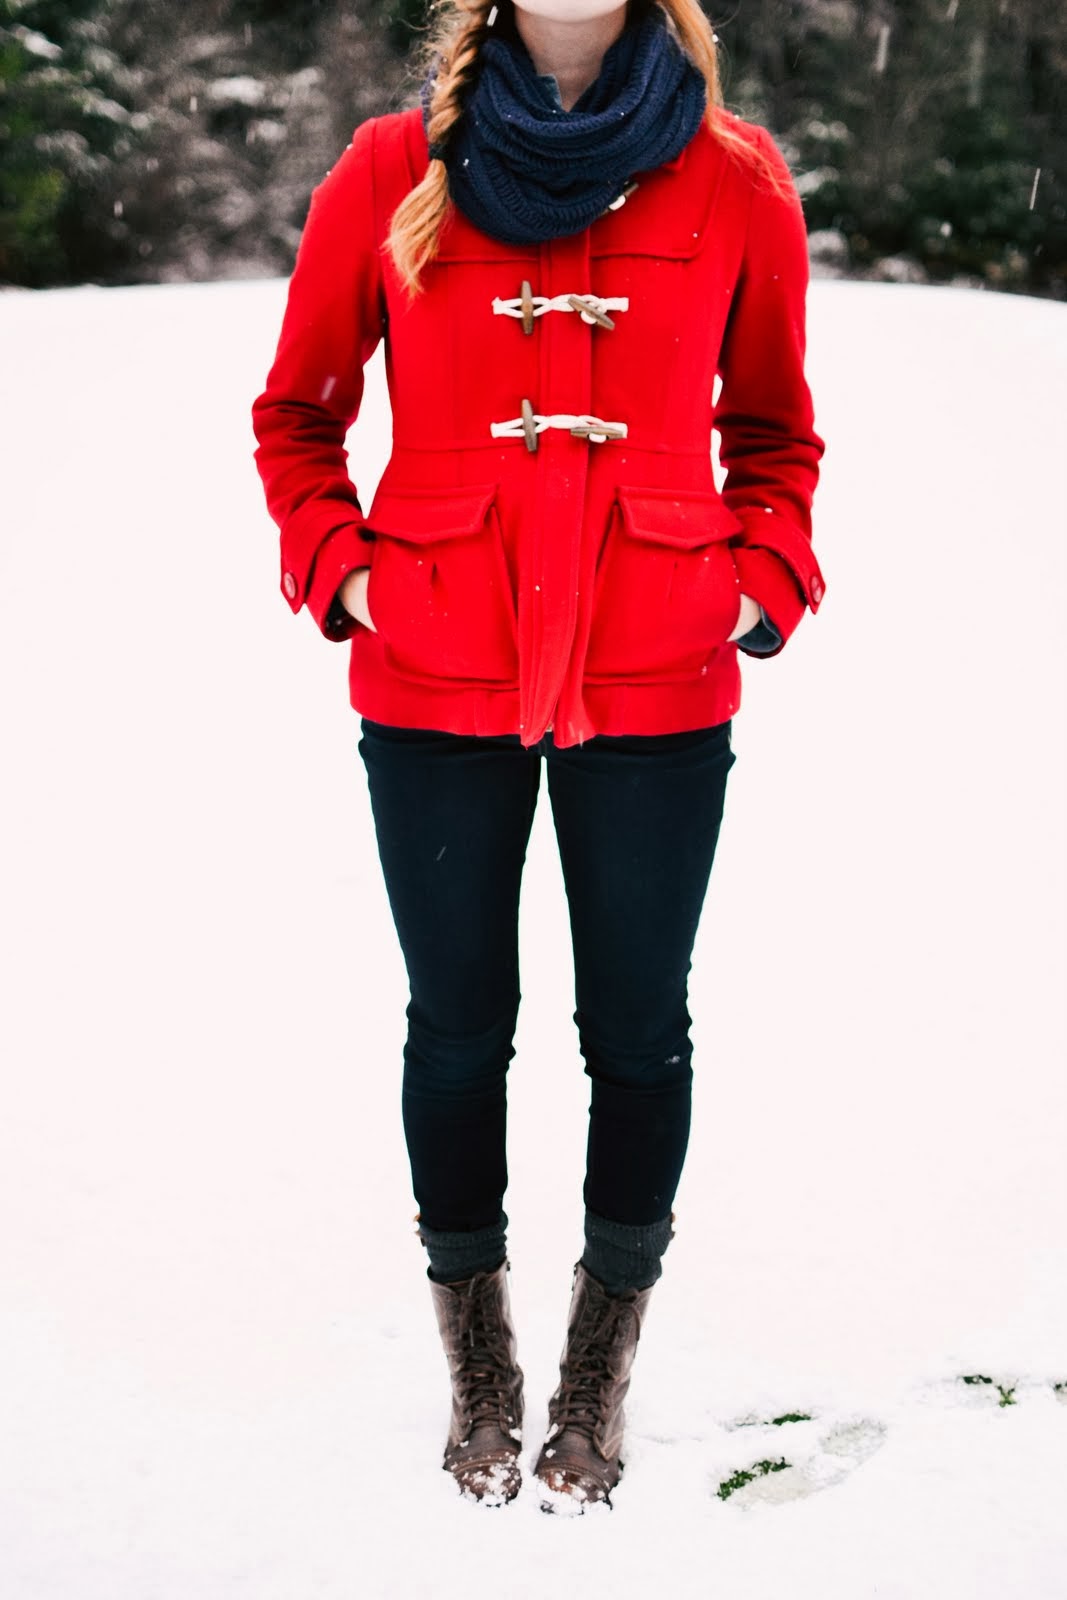
So...this is what I basically wear every day in winter, as long as it's not raining. Although it does rain a lot here in the Pacific Northwest, so swap out my red coat for my rain coat, and you have my average outfit for the rest of the time.
I just love that a statement coat, a nice pair of jeans, and a good pair of boots is so so simple, and yet you look nice and put together. I really like no fuss outfits.
Also, this coat is my favorite. Totally one of those clothing items that gets compliments from total strangers. I love it.
red coat: plenty // jeans: aeo // socks: urban outfitters // boots: steve madden // toque: foreverxxi


Umm...about the snow. These photos were taken in Whistler a couple months ago, definitely not here in Abbotsford. I'm a procrastinator, what can I say?
p.s. ♥ kelsey
diy: comic book coasters
Posted by Admin at 5:07 PM 0 comments(Disclaimer: If cutting up comic books upsets/offends you....please look away!)
Yes, we chopped up comic books (again). No, don't give us that look!
Batman coasters are the bomb.
Now since we're all a bit geeky here at p.s.heart, you shouldn't really be surprised at this diy (remember Jordyn's comic book shoes?). Jordyn was brainstorming ideas for diy projects that she could give to her boyfriend, his family, as well as our good friends Karson and Ashley, and this is what she came up with!
Jordyn was inspired by this diy, and his etsy shop Cheltenham Road is pretty rad as well, in case you'd rather buy than make coasters similar to these.
Jordyn asked for my help with these, and she can attest to the fact that I may have been a teensy bit bossy with my "advice". I can't help it! It must be an older sister thing. However, I'm happy to say that in the end she did admit that the idea I pushed for was a good one and ended up saving us a lot of work. Score one for bossy older sisters.
Materials:
-old/new/ugly coasters* (we found ours at a dollar store)
-paint (if you need to paint over ugly coasters)
-comic books (that you don't mind cutting up)
-mod podge
-paint brush
-cardstock (thick paper)
-scissors/paper cutter
-pencil
Notes before you start:
*We decided to just find some cheap coasters at a dollar store, and they worked out super well. Unfortunately I forgot to grab a before photo of them, but they were just ugly tile ones with "inspirational" words on them, and a cork bottom. Since comic book pages are thin, we decided to paint the coasters white so that nothing would show through, and it gave them a nice clean look.
*We used a paper cutter to get a really straight edge, but scissors will work if you're careful. Jordyn and I also though it looked better to cut our template just a teeny bit smaller than our coaster to leave a small border of white showing on the coaster, but that's up to you!
*If you're really hardcore, you can also use outdoor mod podge instead of the regular stuff for a slightly tougher coaster!
Directions:
1) If you need to, paint one or two coats of white paint on your coasters, and let dry.
2) Place one of the coasters on a sheet of cardstock, trace around the coaster, and then cut it out. This will give you a template for cutting out the correct size from your comic book.
3) Flip through your chosen comic to find fun panels that would look good on your size of coaster. Use your template to trace out the shape, and cut it out.
4) Spread a very thin layer of mod podge over your coaster, and carefully place your chosen comic book piece over top. Smooth out any bubbles, and let dry.
5) Repeat steps 3 and 4 until all coasters are done.
6) Now, spread a very thing layer of mod podge over top of each coaster, as well as over the edges. We used a plastic pastry scraper to smooth out any bubbles that popped up, but anything with a straight edge would work.
7) Repeat step 6 at least twice for each coaster, allowing each coat to dry completely.
8) Use and enjoy!


We were ecstatic with how these turned out, and are happy to say that everyone who received them for Christmas loved them too.
As you can tell, our friends love Batman, but you can easily customize them to suit whatever comic book you (or your friends) fancy. Another alternative might be to try using scrapbooking paper, old sheet music, etc. The possibilities are endless!
p.s. ♥ kelsey & jordyn
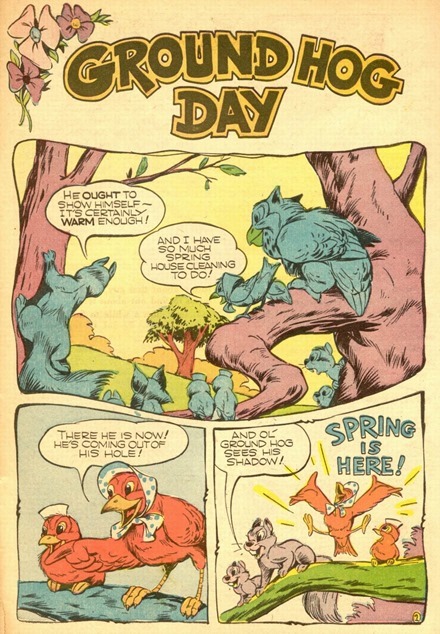
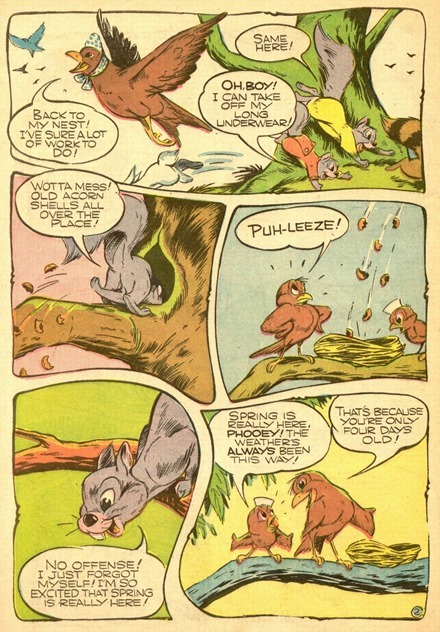
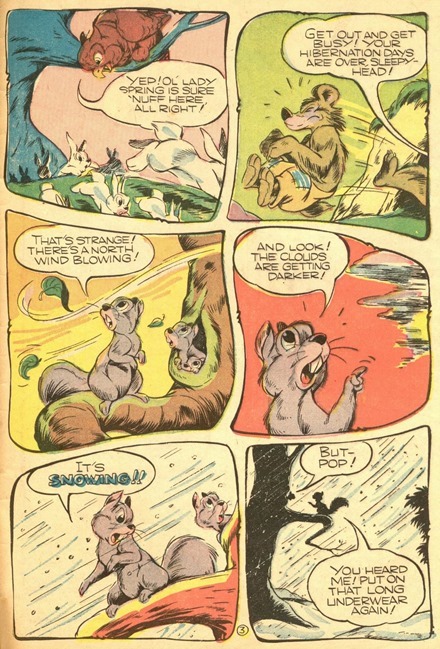
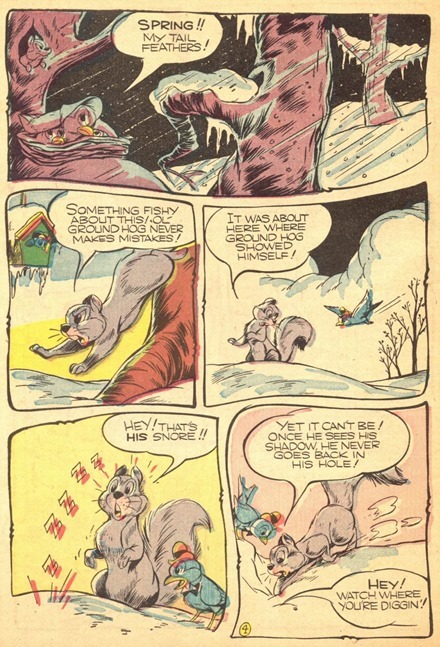
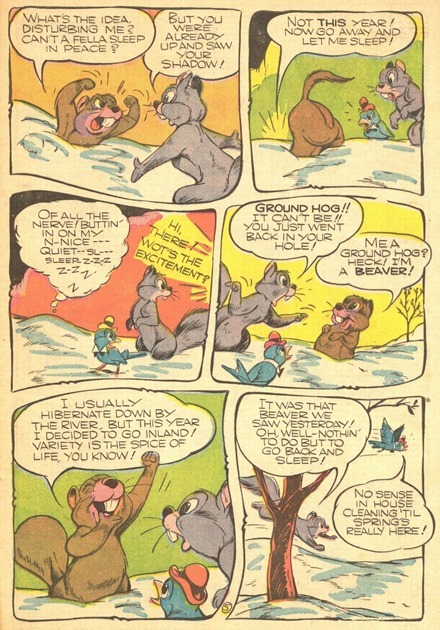
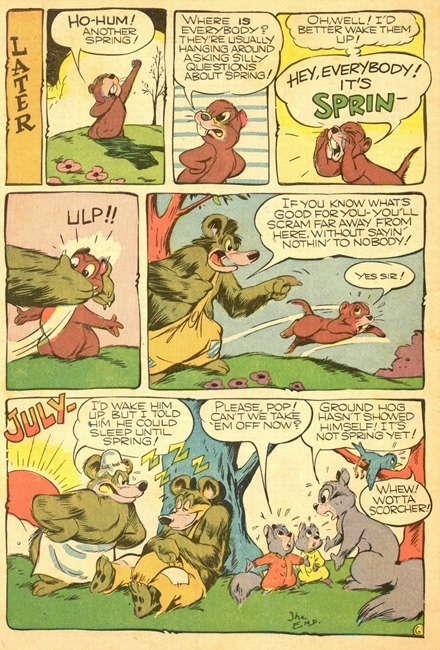
Groundhog Day – Funny Animal Comics by Animator Ken Hultgren
Posted by Admin at 11:12 AM 0 comments
Subscribe to:
Posts (Atom)


