Today I thought I'd talk about a few creative ways to use up extra pastry you might have lying around after making pie, tarts, turnovers, piroshki, strudel....you get the idea. After making my apple pie, I decided to use up the extra pasty by making little pie pops, as well as pop tarts!
Or, if you want to just straight up make pop tarts or pie pops, here's the recipe for the pastry (although beware, it does make quite a bit of pasty!):
Pastry
from: Company's Coming - Desserts
Yield: Pastry yields enough to make 4 pies.
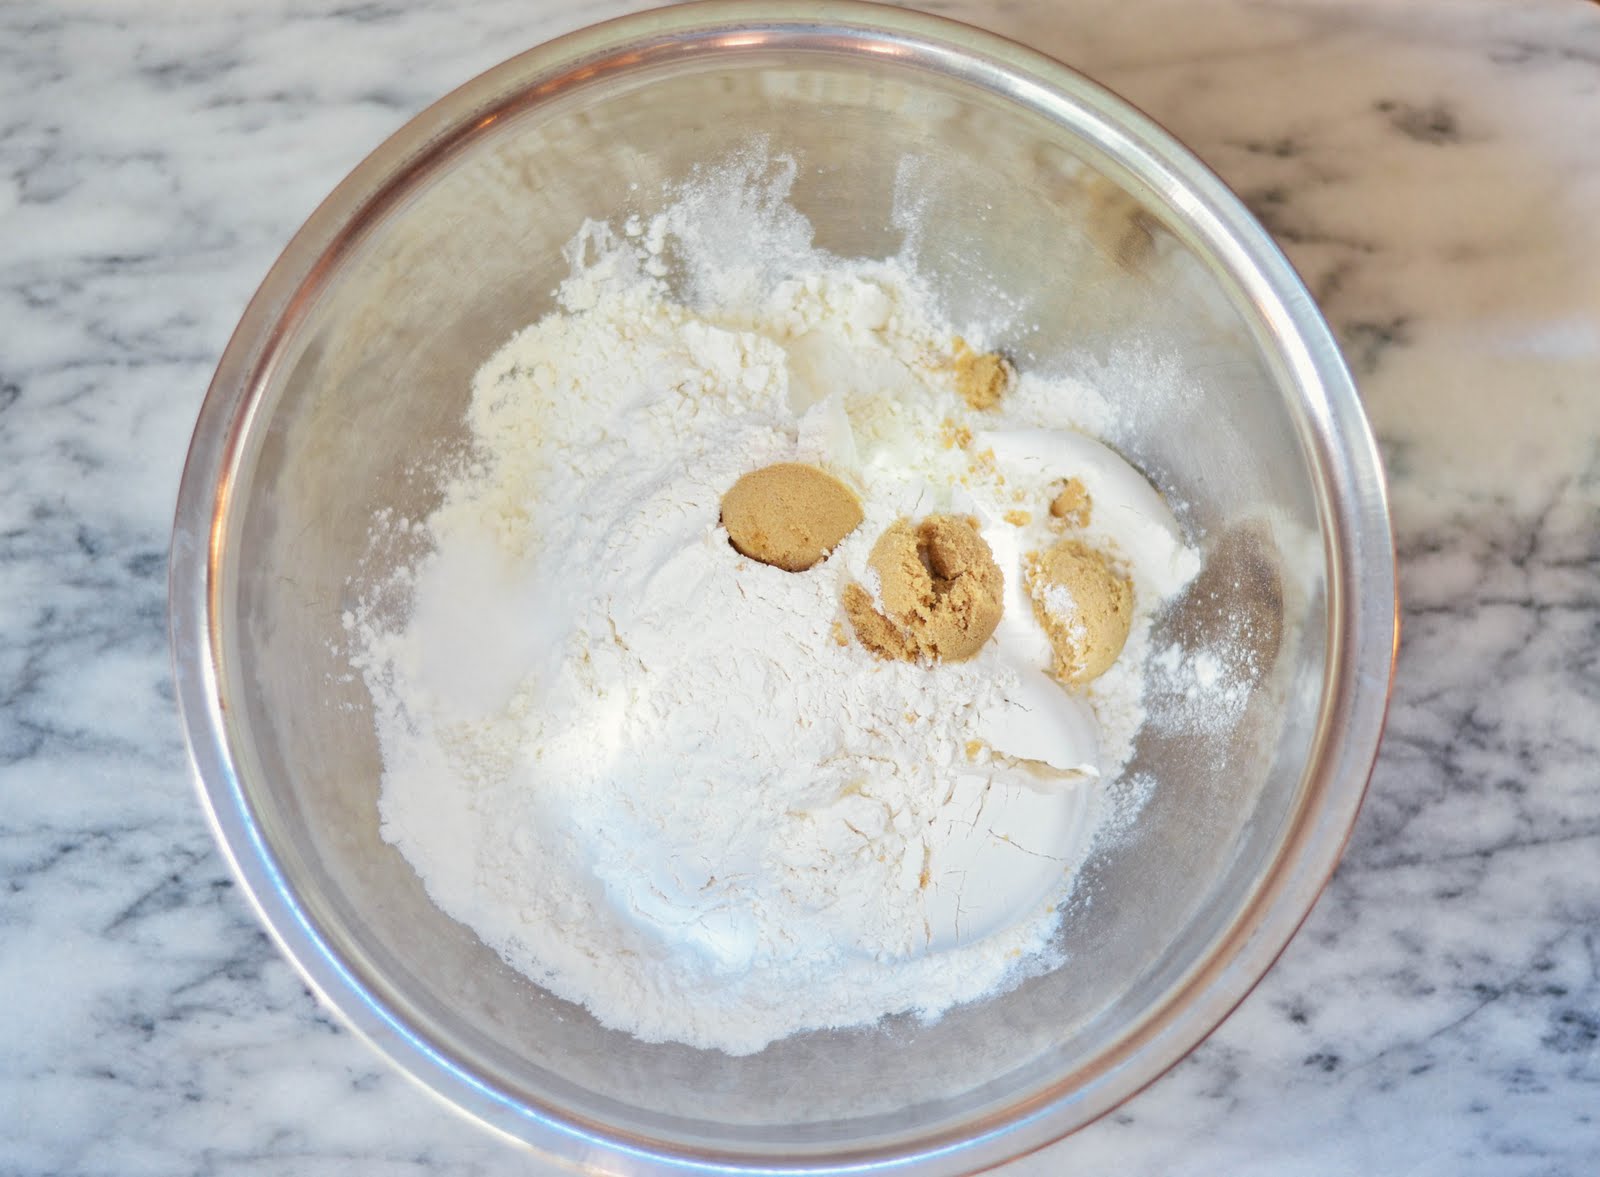
Ingredients:
5 cups Flour
2 tsp Salt
1 tsp Baking Powder
3 tbsp Brown Sugar
1 lb Lard (or vegetable shortening)
1 Egg
2 tbsp Vinegar
Cold water
Directions:
1) Mix together flour, salt, baking powder and brown sugar in a large bowl.
2) Cut up lard and add to dry ingredients.
3) Using a pastry cutter (or a plain old fork works as well), cut in lard until your mixture is crumbly.
4) Break your egg into a liquid measuring cup and beat well.
5) Add vinegar to the measuring cup.
6) Add very cold water to the measuring cup, until the mixture measures to 1 cup.
7) Pour liquid mixture over flour mixture slowly, and stir.
8) Use your hands to work the mixture together until it no longer crumbles apart. This is where experience will come in, as you don't want to overmix the dough! Once you make it a couple of times, you'll get the feel of it.
9) Divide into 4 equal parts. Each part will make one pie, so you can choose to use it all at once, store some of the dough in the fridge* for up to 2 weeks, or pop some of into the freezer for later!
*If you do refrigerate your dough overnight (or for a few days), be sure to take it out at least an hour before you roll out it. Otherwise it will be too stiff!
*If you do refrigerate your dough overnight (or for a few days), be sure to take it out at least an hour before you roll out it. Otherwise it will be too stiff!
Now, pie pops and pop tarts follow the exact same steps, except for the different shapes....and for pie pops you'll want to insert a cake pop stick inside before adding the top layer.
First, you'll want to roll out your dough, and cut it into equal shapes (circles for pie pops, rectangles for pop tarts). Then, place a dollop of filling inside (we chose to use raspberry jam or nutella in each one). Place a matching shape over top, and use a fork to firmly press the edges together. We chose to use mini cookie cutters to cut out fun shapes in the middle, but that's totally optional! Finally, to help the pastry brown while it's baking, we brushed a tiny bit of egg white over the top of each pop tart (and also sprinkled some coarse sugar over as well).
Thanks goes to Jordyn for the use of her hands in most of these photos! She is also a nutella addict...so that addition was hers. You may or may not be aware of the fact that I'm really not a fan of nutella.
So yes, I'm a huge weirdo who doesn't like pie or nutella. Don't judge me.
Thanks goes to Jordyn for the use of her hands in most of these photos! She is also a nutella addict...so that addition was hers. You may or may not be aware of the fact that I'm really not a fan of nutella.
So yes, I'm a huge weirdo who doesn't like pie or nutella. Don't judge me.


Homemade is definitely better than store bought...although perhaps a little less nostalgic in the case of pop tarts. But these both make great treats that are perfect finger food for parties!
p.s. ♥ kelsey (and jordyn)