Showing posts with label apple. Show all posts

tasty tuesday: apple streusel coffee cake

0 comments

Coffee cakes are one of my favorite cakes.  Second only perhaps, to chocolate cake.  Depends on my mood I suppose.  And coffee cakes in Fall are just plain delightful.  There's something so cozy about them, and the fact that they usually contain cinnamon makes them even more wonderful.

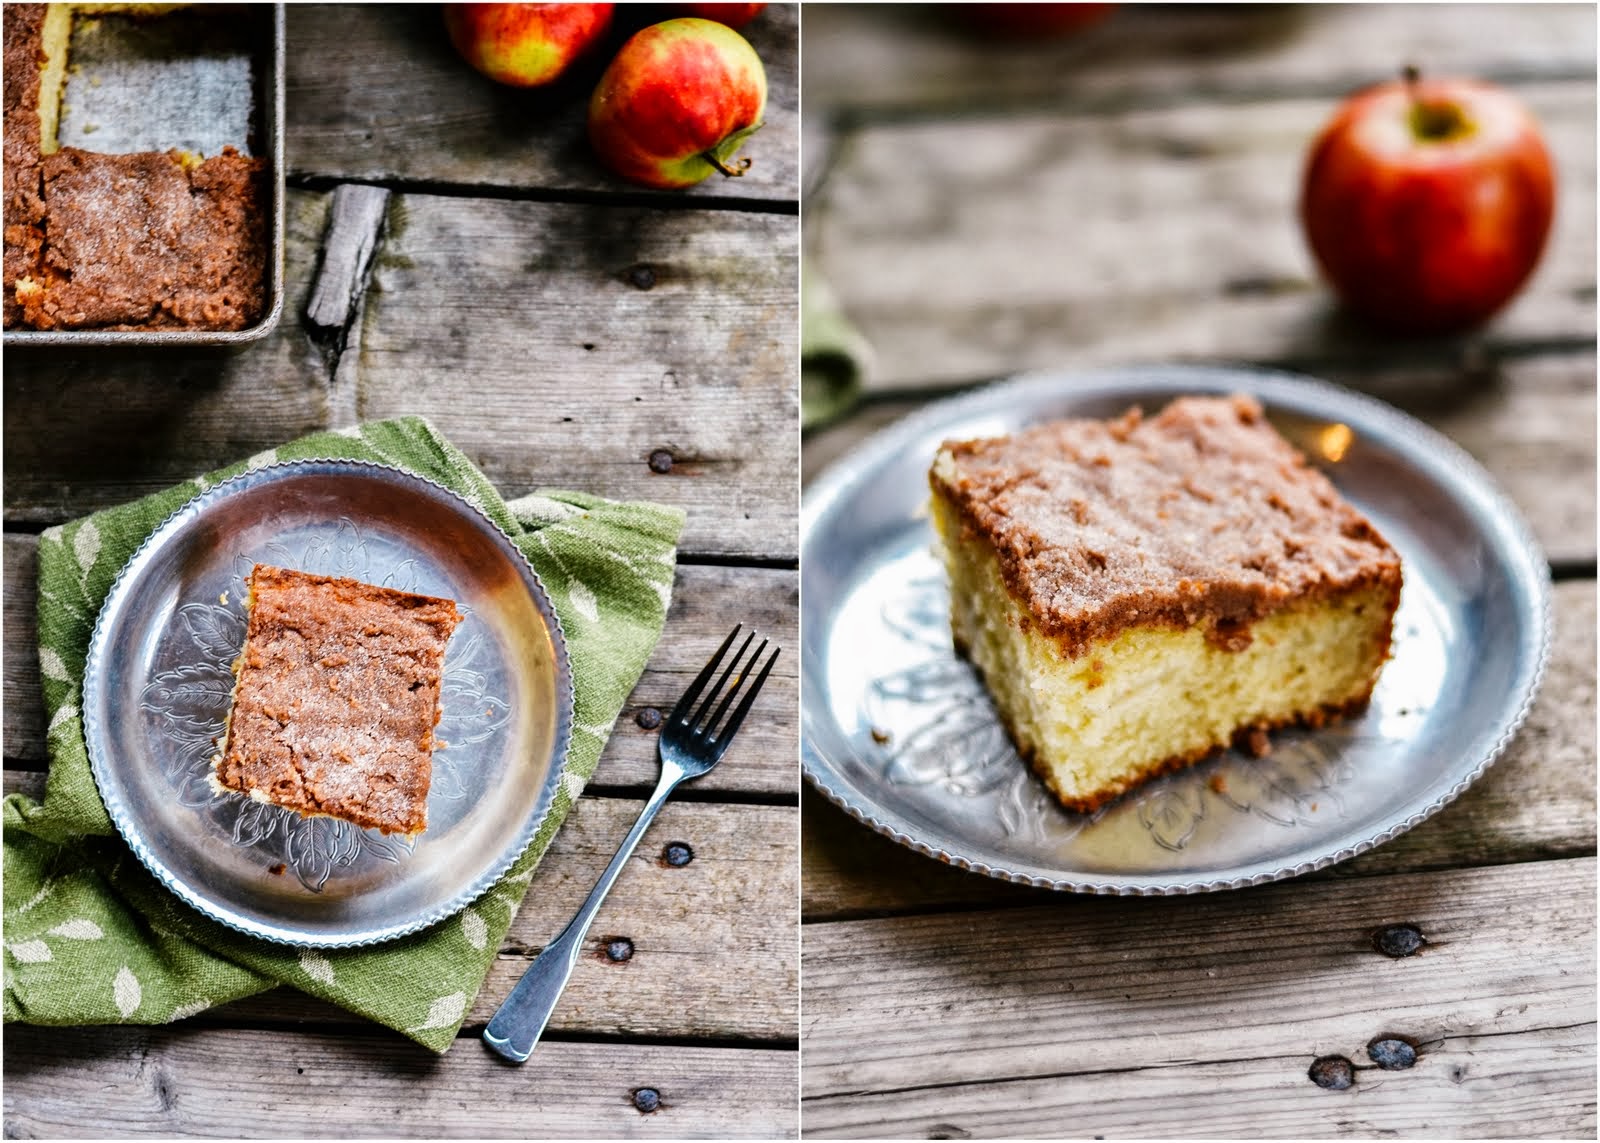
This recipe came from my friend Rachel, and I am so in love with it.  You've got cinnamon, apples, and a streusel topping....what more could you ask for?  So much goodness.


Make this on a crisp Fall day, and serve with hot coffee!
Or hot chocolate, or milk, or whatever.  For those of us that aren't really into coffee...

Apple Streusel Coffee Cake

Ingredients:
2 tbsp white vinegar
1 3/4 cup milk

3/4 cup butter, softened
1 3/4 cups white sugar
2 large eggs
1 tsp vanilla
3 cups flour
2 tsp baking powder
1 tsp baking soda
1/4 tsp salt
2 medium cooking apples, peeled, cored and thinly sliced (I used elstars)

Streusel topping:
2/3 cup white sugar
1/2 cup flour
2 tsp cinnamon
1/4 cup butter, cold

Directions:
1)  In a large liquid measuring cup, combine milk and vinegar and let stand for 10 minutes to sour.
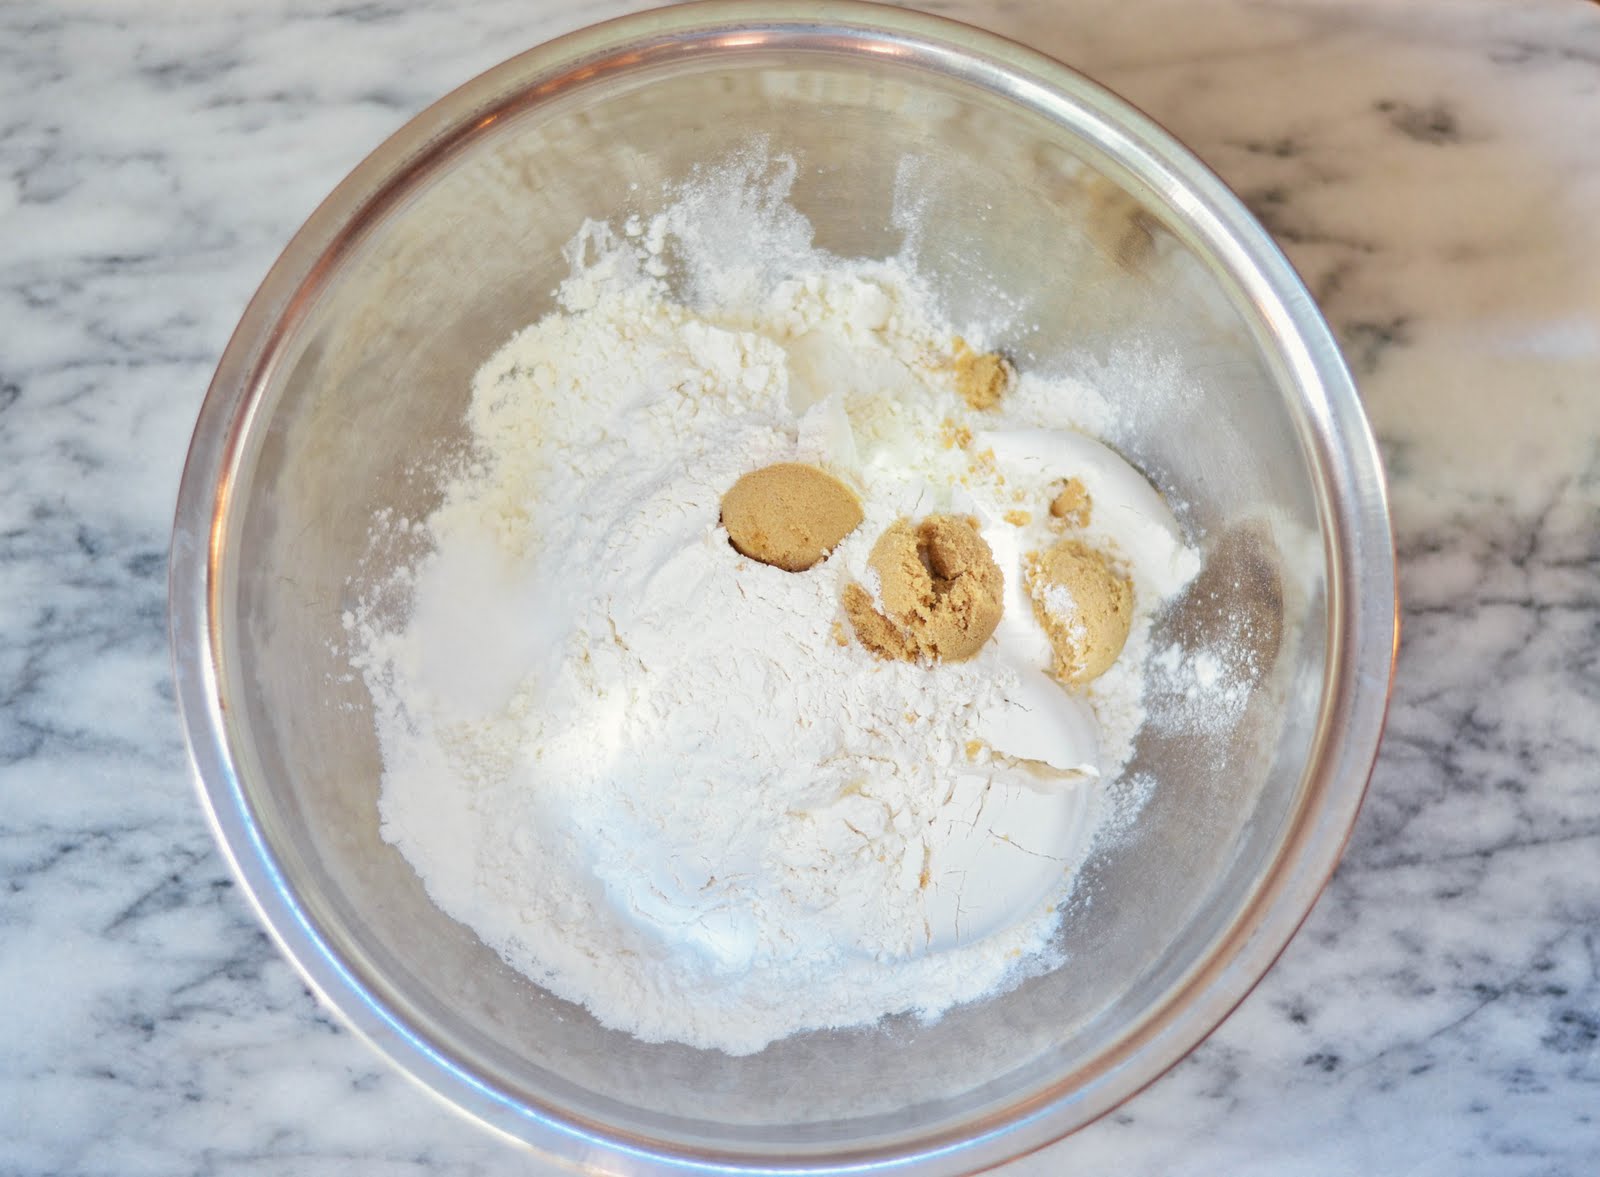
2)  Next, mix together streusel topping: Combine sugar, flour, and cinnamon together in a small bowl.  Cut in butter until you have coarse crumbs.  Set aside.
3)  Now you can start getting the cake batter ready.  Beat butter and sugar together in a large bowl until light and creamy.
4)  Add eggs, one at a time, beating well after each addition.
5)  Add vanilla and mix well.
6)  Combine flour, baking powder, baking soda and salt in a medium bowl.
7)  Add flour mixture to butter mixture in four additions, alternating with the milk mixture in three additions. (You want to start and end with adding the flour mixture).  Mix together until just combined.
8)  Spread about half the cake batter into a greased, 9x13 pan.  
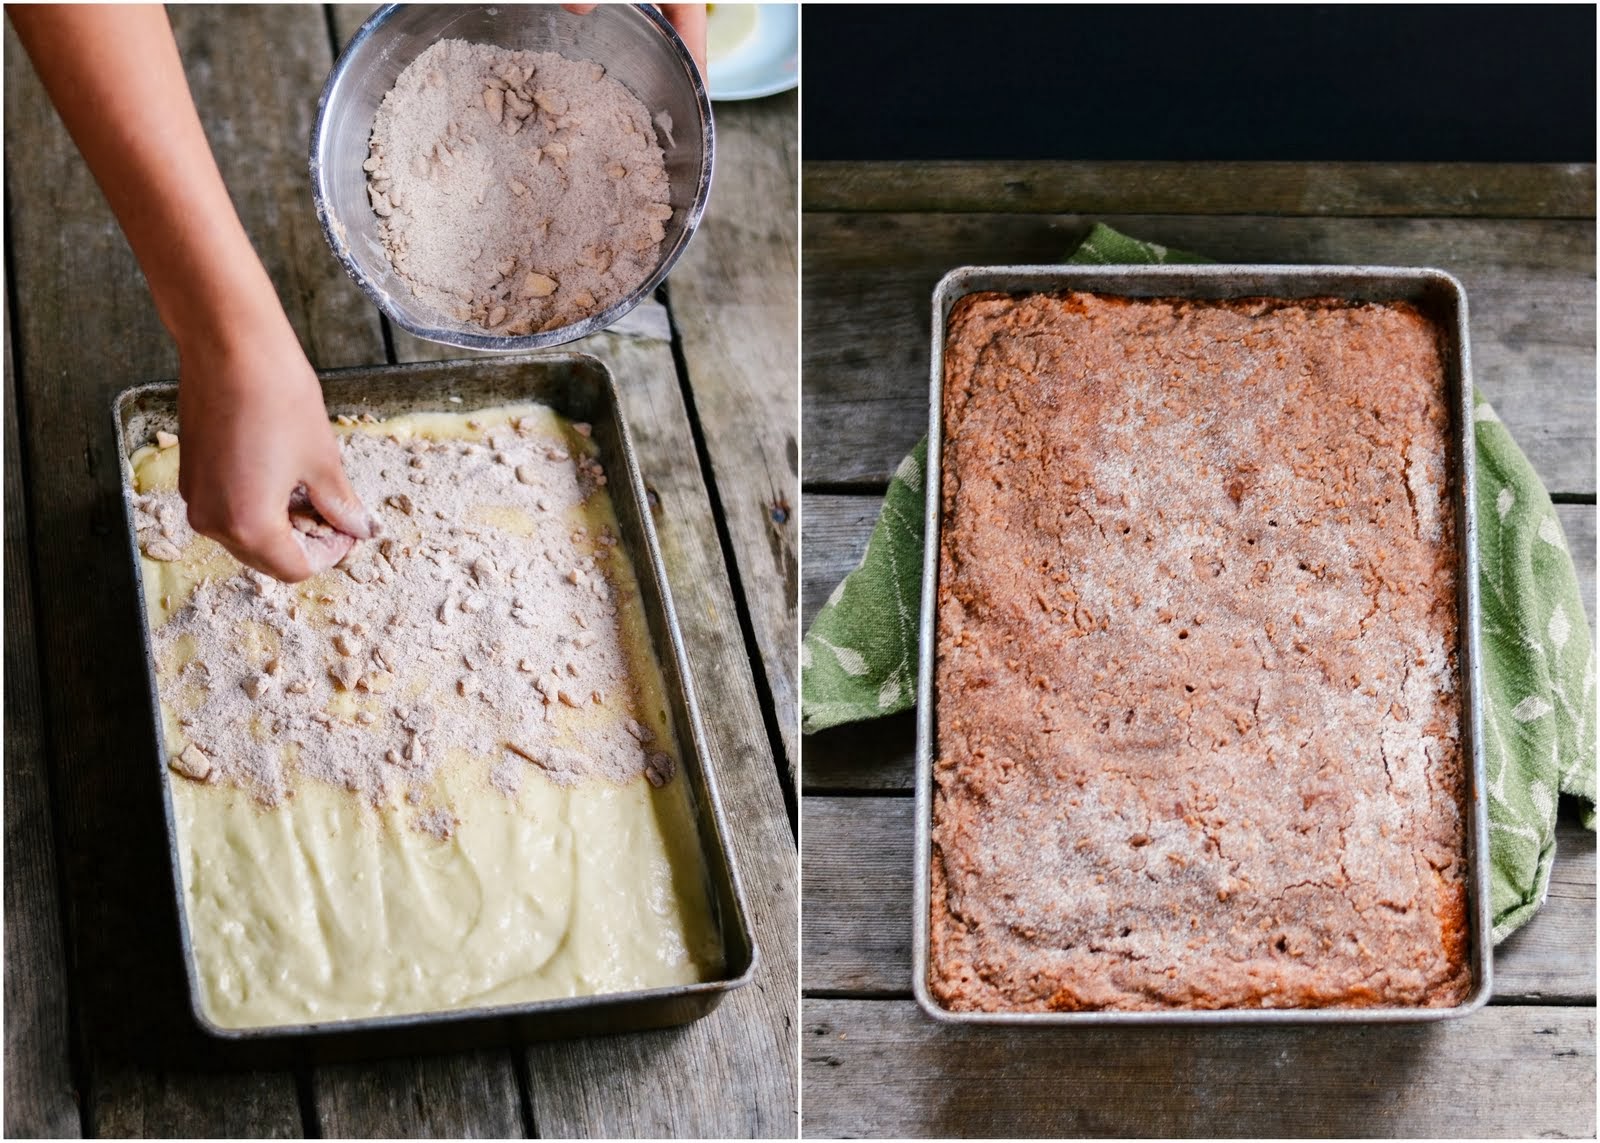
9)  Place apple slices close together in a single layer over the batter, and then sprinkle with about half of the streusel topping over the apples.
10)  Spread the remaining batter over everything, and sprinkle the remaining streusel topping on top.
11)  Bake at 350 degree for 50-55 minutes, or until a toothpick comes out clean.


p.s. ♥ kelsey

tasty tuesday: apple crisp

0 comments


Oh yes...more apple recipes!  It started with pie last week, and it's not going to stop for a long time.  

More apple, pumpkin, and squash recipes will be coming at you like crazy for the next few weeks.  What can I say?  We love Fall, and it helps when you live on an apple/pumpkin farm and have an endless supply of delicious fall fruit!


Crisps are definitely one of the easiest desserts in the world...and yet they're so dang delicous!  You just throw fruit in a pan, top it with crumbs, and bam...you have a mouthwatering creation on your hands.

Oh yeah...don't forget to add ice cream!

Apple Crisp

Ingredients:
8 cups chopped tart apples (we used Elstar)*
2 tsp flour
1 tsp cinnamon

3/4 cup flour
1 1/2 tsp baking powder
pinch of salt
1/3 cup butter (cold)
1 cup brown sugar
1 cup rolled quick cooking oats

Directions:
Fruit Layer:
1) Mix together chopped apples, cinnamon and flour.  Place in a greased 9x13 pan.

Crumb Topping Layer:
1) In a medium bowl, mix together the flour and baking powder.
2) Then, cut in cold butter with a pastry cutter or a fork until the mixture resembles coarse crumbs.
3) Stir in brown sugar and oats.
4) Sprinkle crumbs over fruit evenly.

Bake at 350 degrees for 40-50 minutes, or until the top is lightly browned and the apple pieces are tender.   Cook time will depend on how big your apple chunks are....so just keep checking it!

(If your crumbs are brown, but your apples are still crunchy, just loosely place a piece of tinfoil on top of the pan to keep the crumbs from getting any browner while it cooks a bit longer!)


Let us know if you have any suggestions for Fall treats!  We'd love to hear them.

p.s.   kelsey

tasty tuesday: apple pie

0 comments

I'm really not sure why it's taken me so long to talk about pie here....especially since I live on an apple and berry farm, and my mom's known as the best pie-maker in town, and we seem to have pie in the house every other week in summer/fall.

It may have something to do with the fact that I don't actually like pie.  Ahem, yes you read that right.  I'm not a huge fan....and my friends do enjoy teasing me endlessly about it!  Because truly, who the heck doesn't like pie?   Whatevs.  

Anyways, I love making people happy...so if they want pie, I will give them pie!


My mama helped me out with this post...so not only did it look good, but it tasted amazing as well (or so I've been told...haha).  I believe her two main tips for a deliciously flaky crust are: don't overmix your dough, and chilling your dough for 20-30 minutes!


Apple Pie

Pastry
from: Company's Coming - Desserts
Yield: Pastry yields enough to make 4 pies.

Ingredients:
5 cups Flour
2 tsp Salt
1 tsp Baking Powder
3 tbsp Brown Sugar

1 lb Lard (or vegetable shortening)

1 Egg
2 tbsp Vinegar
Cold water

Directions:
1)  Mix together flour, salt, baking powder and brown sugar in a large bowl.
2)  Cut up lard and add to dry ingredients. 
3)  Using a pastry cutter (or a plain old fork works as well), cut in lard until your mixture is crumbly.
4)  Break your egg into a liquid measuring cup and beat well.
5)  Add vinegar to the measuring cup.
6)  Add very cold water to the measuring cup, until the mixture measures to 1 cup.
7)  Pour liquid mixture over flour mixture slowly, and stir.
8)  Use your hands to work the mixture together until it no longer crumbles apart.  This is where experience will come in, as you don't want to overmix the dough!  Once you make it a couple of times, you'll get the feel of it.
9)  Divide into 4 equal parts.  Each part will make one pie, so you can choose to use it all at once, store some of the dough in the fridge* for up to 2 weeks, or pop some of into the freezer for later!

*If you do refrigerate your dough overnight (or for a few days), be sure to take it out at least an hour before you roll out it.  Otherwise it will be too stiff!

Pie filling:
Ingredients:
6ish medium Elstar apples (or any tart apple of your choice)
1 tsp Cinnamon
1/4 cup Flour
3/4 cup Sugar

Directions:
1)  Once your pie dough is ready, you can peel and chop apples (the exact number will depend on the size of your apples, and how full you want to make your pie).  We used Elstar apples, which are nice and tart, and are wonderful for baking with!
2)  Mix all ingredients in with your diced apples, stir, and let sit for a few minutes.
3)  Take approximately an eighth of your dough, and roll it out in a circle.  You want your dough circle to be big enough to cover the bottom of your pie plate, and to cover the outside edge at least a half an inch.
4)  Add your apple mixture to the pie plate and roll out another dough circle for the top.
5)  Before adding the top of the crust, dip your fingers in a tiny bit of water, and run them along the edge of the bottom crust.  This will help the top adhere well to the bottom crust.
6)  Cover the pie with the top crust, trim any extra dough hanging over the side...leaving about a quarter of an inch over the pie plate.
7)  Pinch together the crusts, and fold inwards (this is so any juice that bubbles out won't end up in your oven).  Then, you can choose to crimp the edges however you like!
8)  Sprinkle the top lightly with sugar, poke several holes (for ventilation) in the top, and you're ready to go.
*If you want to be fancy, you can cut out shapes from the top crust (or from extra crust) to add decorations to your crust.  We added a few cute leaves to ours!
9)  Bake at 425 degrees for the first 15 minutes, and then reduce heat to 350 degrees for 30-40 minutes until nice and bubbly.


A handy trick to getting your bottom crust in it's pan easily is to drape it over your rolling pin, and then gently roll it over the pan!


It can be tough to get a nice crimp on the edges....so don't be discouraged!  Remember, practice makes perfect.

So that means, make more pie. Duh.


There you have it.  Easy as pie!

p.s.   kelsey