
I've been seeing a lot of Fall bucket lists going around the interwebs these days, and sometimes they make me chuckle. I live on a pumpkin patch where I pick apples for my job, we make apple cider on a weekly basis, there are hayrides every day of the week, and picking corn is kind of like a boring version of a corn maze. Sooo....I've definitely crossed off most things on these bucket lists without even trying! It reminds me not to take things for granted, and every day I feel so blessed to live and work in such a cool place.
However, one of the things on my Fall baking bucket list was to make apple cider donuts! I had never actually heard of such a thing until I came across a post on tumblr about them. I was instantly intrigued, and thought they sounded like the epitome of a Fall dessert. Warm, cozy, fluffy donuts with apple cider and cinnamon? Perfection!
However, one of the things on my Fall baking bucket list was to make apple cider donuts! I had never actually heard of such a thing until I came across a post on tumblr about them. I was instantly intrigued, and thought they sounded like the epitome of a Fall dessert. Warm, cozy, fluffy donuts with apple cider and cinnamon? Perfection!


My expectations were cautiously high for these donuts, and I wasn't disappointed! I also quite successfully convinced myself that because they were baked donuts (and not deep-fried), they must be healthy for you. Am I right?
Apple Cider Baked Donuts
adapted from: eat, live, run
yields: 11-12 donuts
Ingredients:
2 cups all purpose flour
3/4 cup brown sugar
1 1/2 tsp baking powder
1/4 tsp baking soda
1 tsp salt
2 tsp cinnamon
2 eggs
2 eggs
2 tbsp unsalted butter, softened
1/2 cup apple cider
1/4 cup buttermilk [or 1/4 cup of milk with 1/2 tsp of vinegar....let stand for 5-10 minutes before using]
Topping:
2 tbsp butter, melted
1/4 cup brown sugar
1/2 cup apple cider
1/4 cup buttermilk [or 1/4 cup of milk with 1/2 tsp of vinegar....let stand for 5-10 minutes before using]
Topping:
2 tbsp butter, melted
1/4 cup brown sugar
1/4 cup white sugar
1 tbsp cinnamon (or to taste)
Directions:
1 tbsp cinnamon (or to taste)
Directions:
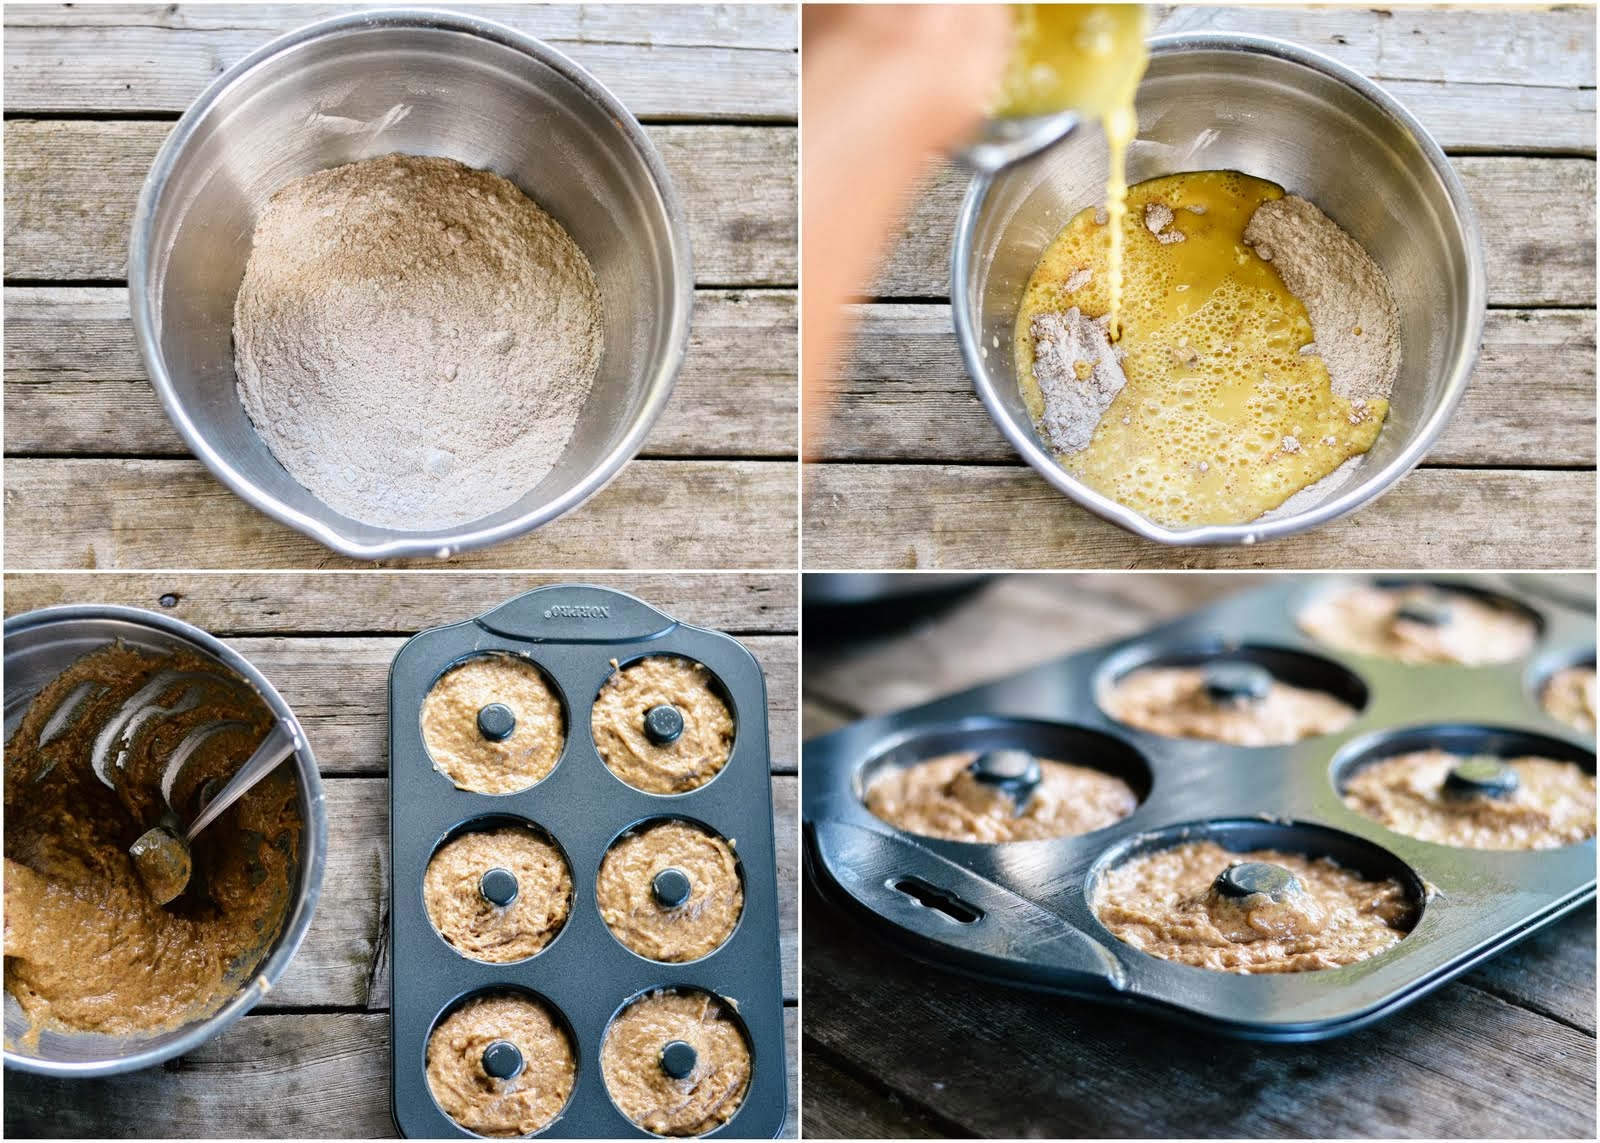
1) In a large bowl, mix together the flour, sugar, baking soda, baking powder, salt and cinnamon.
2) In a smaller bowl, mix together the softened butter with the eggs until fluffy (doing this ensures that your butter doesn't re-solidify once the cold buttermilk and cider are added). Add buttermilk and apple cider, and mix well.
3) Pour wet ingredients into the dry, and stir until just blended. Try not to overmix!
4) Spread the batter into a greased donut pan. I used a large spoon to drop the batter in, or placing your batter into a pastry bag to pipe into the pan makes the process nice and easy. Fill each mold about 3/4 full.
5) Bake at 350 degrees for 8-10 minutes, or until an inserted toothpick comes out clean. You may want to break open a test donut just to make sure the inside isn't gummy!
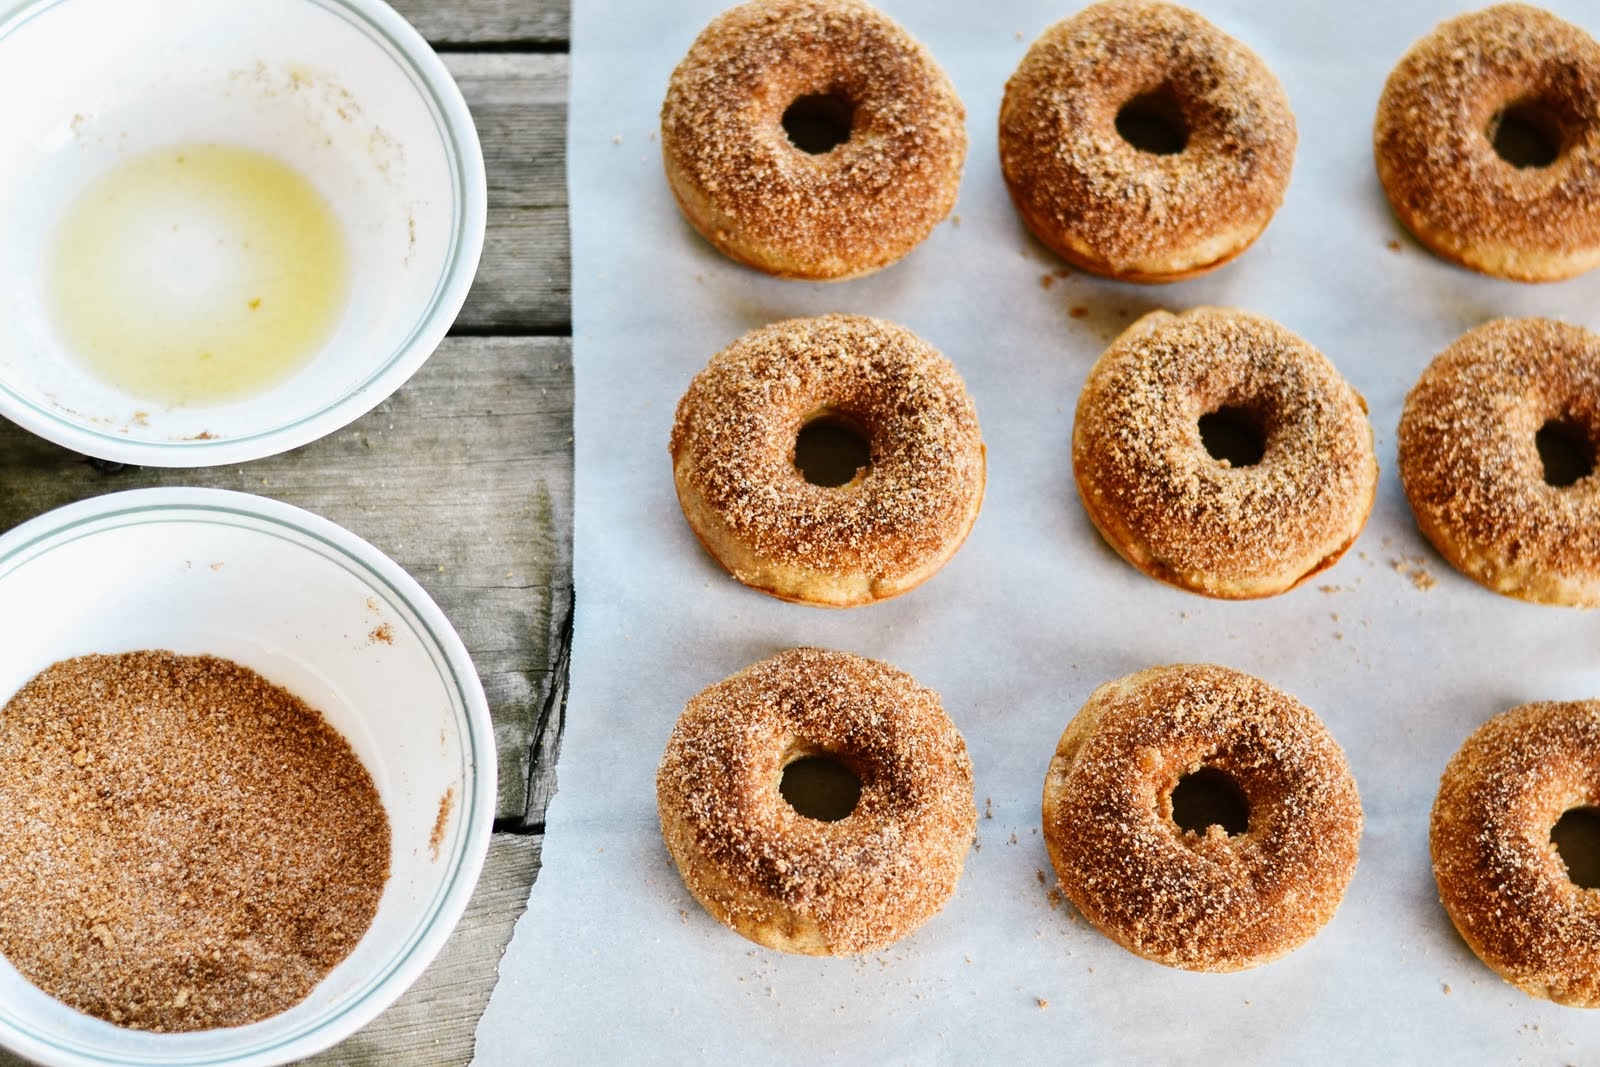
6) For the topping: melt the butter in a bowl that will fit a donut inside it. Then, dip each donut quickly into the butter, and then into the cinnamon sugar mixture.
*These are best on the first day, as they tend to get a bit soggy once you place them in a container.




Do you have your own version of a Fall bucket list? I'd love to hear what's on them!


Do you have your own version of a Fall bucket list? I'd love to hear what's on them!
p.s. ♥ kelsey


