Are you ready to impress your friends and family by having the coolest eggs in town? I thought so! These babies look so intricate, but are ridiculously easy.
I really love decorating Easter eggs. I don't know why, but there's just something about turning eggs pretty colours, and experimenting with new dipping techniques and colour combos that is just so fun to me!


This year, we decided to try something a little different. My mom found this diy thanks to good old Martha Stewart. We were a bit skeptical at first, and kept out expectations quite low. Martha has great ideas, but sometimes (okay...a lot of the time) our end result looks a lot different than hers! Low and behold, these turned out great!
When we did our first egg (with much trepidation) and realized how cool it looked, we looked at each other with wide eyes and laughed with glee! We did it! And you can too.

Directions:
1) First choose a few colours to be base colours, and a few colours that will be the second coat that will be marbleized overtop. I suggest using paler colours as your base coat, so that the second colour will still show. When you do your second coat the egg won't be in the dye for as long, so colours such as pink or blue tend to deposit the colour better than something like yellow!
2) Prepare bowls of warm water for your base colours (make sure the water is deep enough to cover the egg), and use shallow dishes, (we used 9 inch pie plates) with water half an inch deep, for your marbleizing colours. In each bowl/dish add about 2 tbsp of vinegar. This will help the colour stick your eggs!
3) Now, add in your food colour to each of your containers and stir like crazy! For the marbleizing colours, you want your colours to be very concentrated, otherwise they might not show up very well!
4) Then, add 1 tbsp of olive oil to each of the shallow dishes (this is what will provide the marbleizing effect!).
5) Colour all of your hardboiled eggs and let them dry completely.
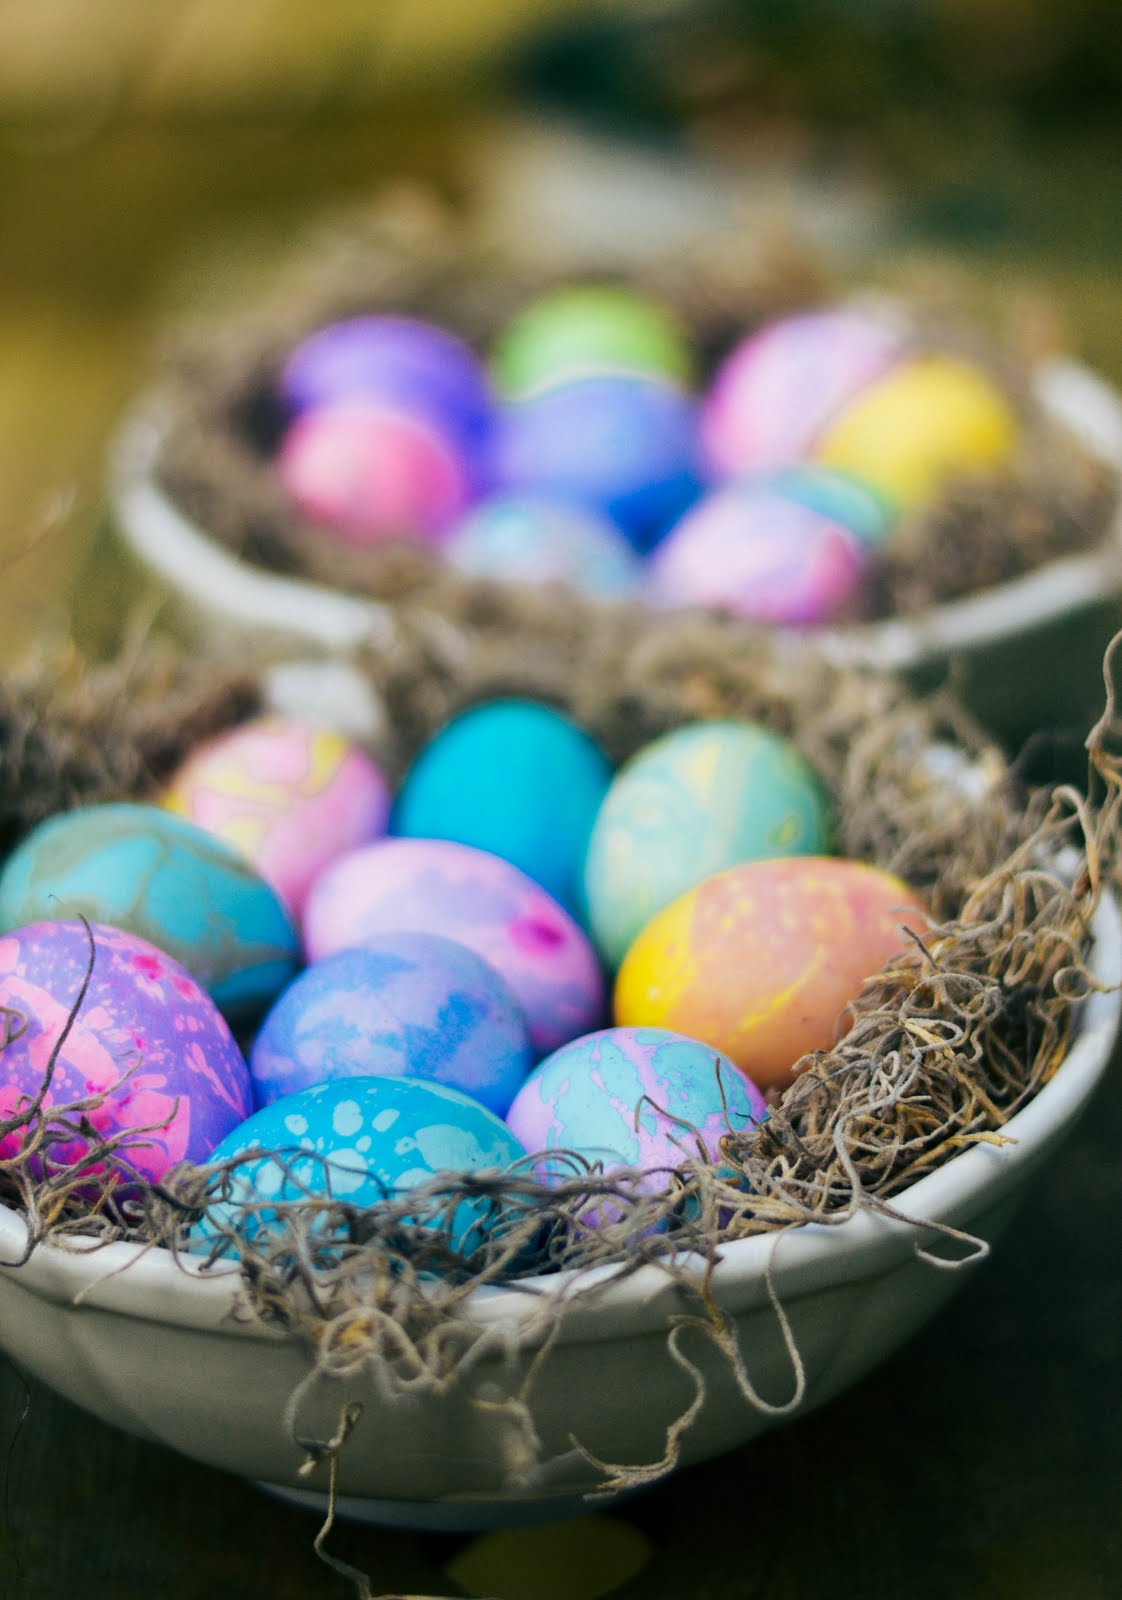
6) Then, use a fork to stir up the water and oil mixture in a shallow dish. Roll your egg around in this mixture, and you'll see oil streaks appear on your egg! Remove the egg and carefully wipe down with a paper towel. Let the egg continue drying, and repeat with the rest of the eggs!
*We found that swirling the oil in different ways gave different patterns of bubbles and swirls on the eggs. So experiment, and have fun!


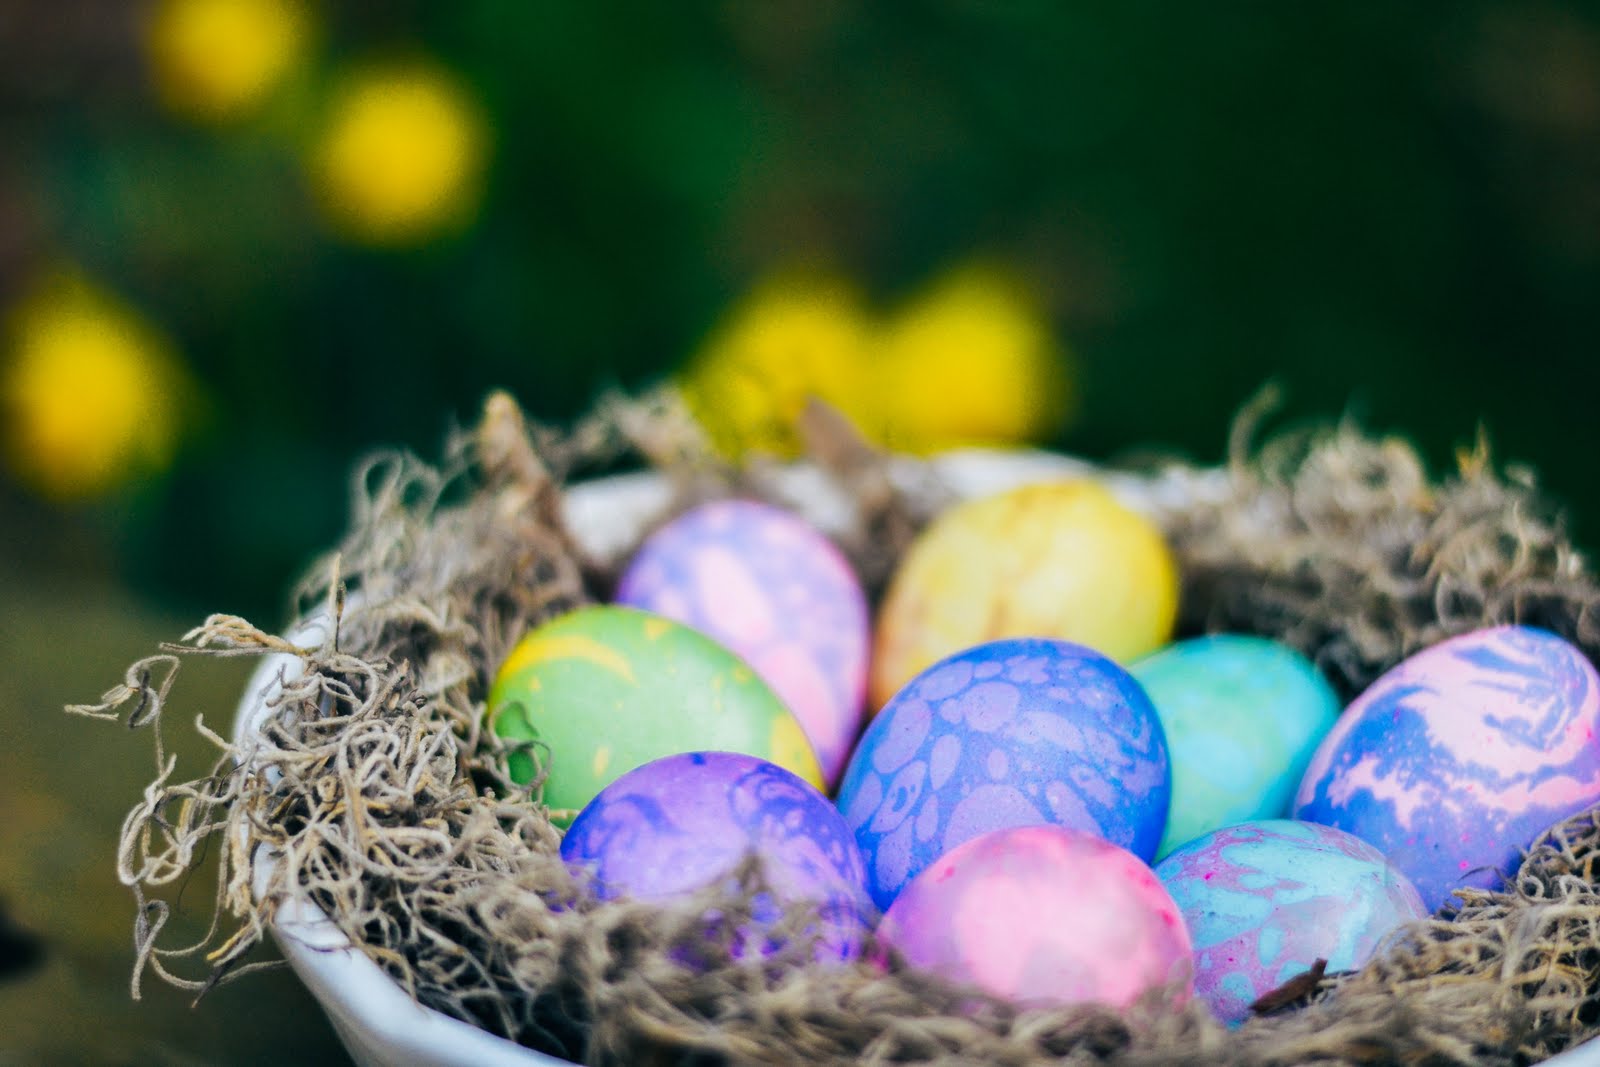
The eggs will be very oily even after they dry, but once you leave them out over night they dry up and look beautiful!

We did find that layering different colours had different results! It's so much fun to see how each colour combination reacts differently.


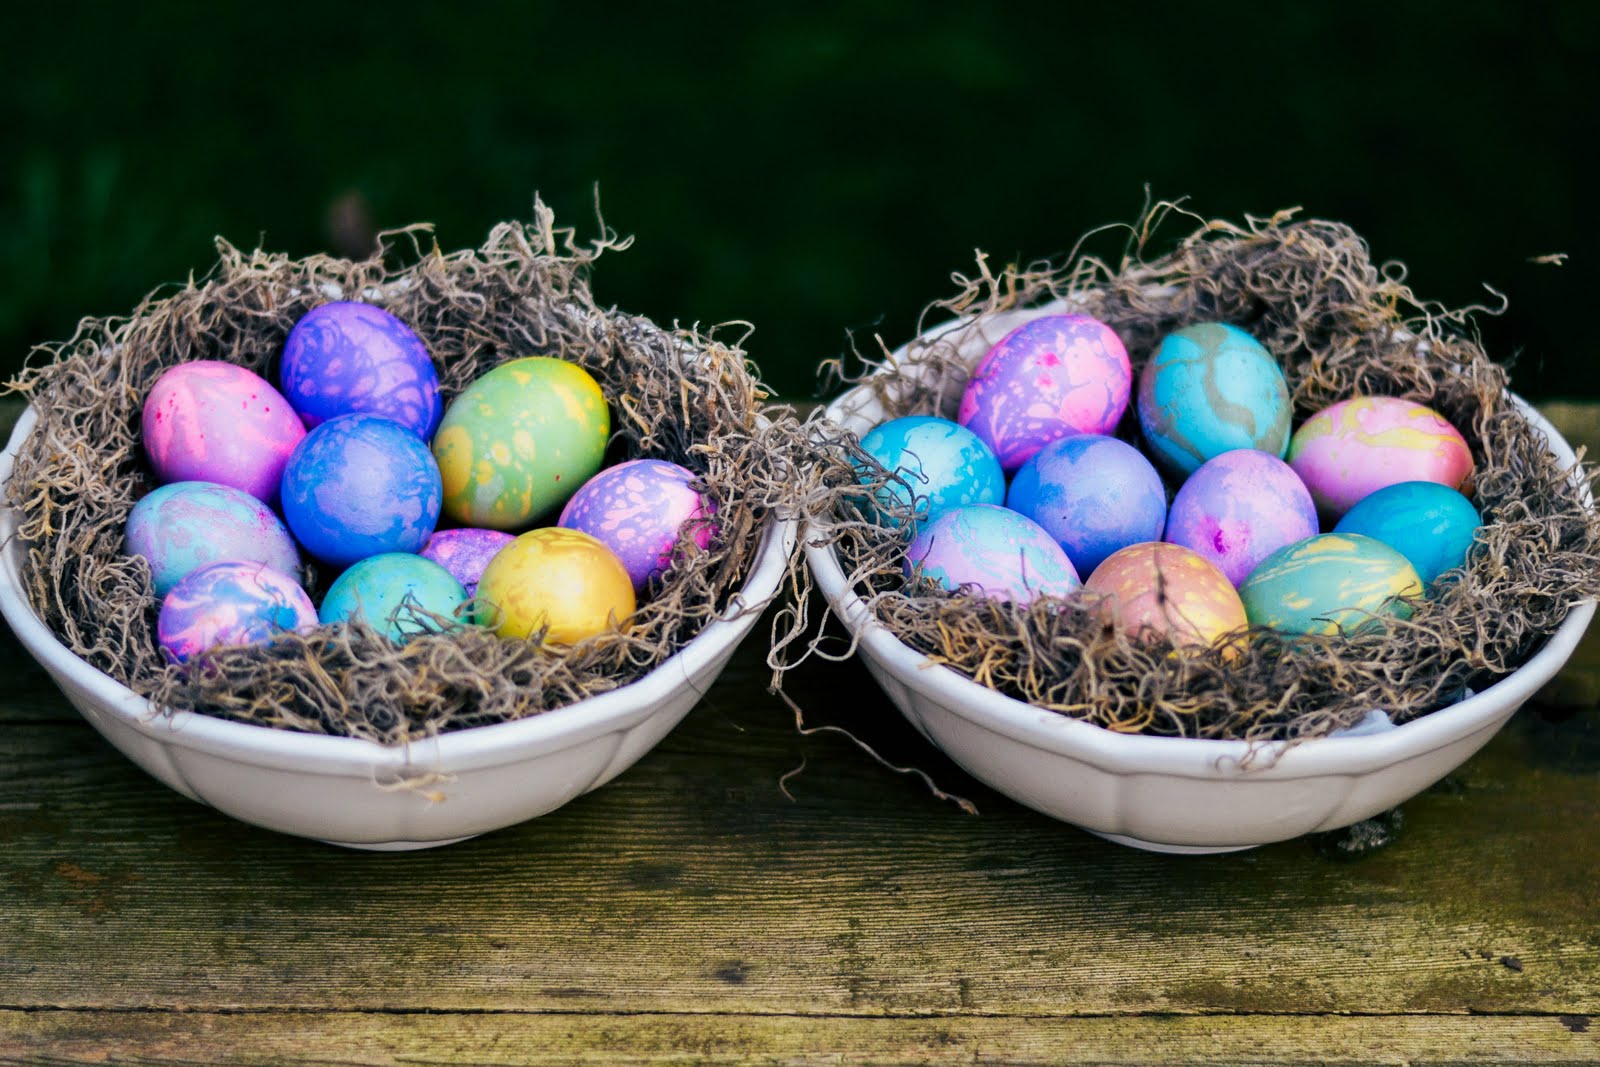
Happy Easter!
p.s. ♥ kelsey
0 comments:
Post a Comment